
1. Mac Reinstall (document)
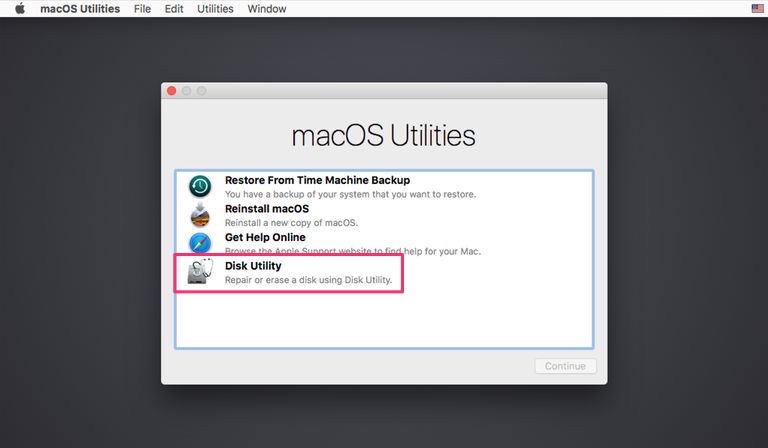
(1) Restart Mac and press Shift + Option + Cmd + R.
Install the macOS that came with your Mac, or the version closest to it that is still available.
(2) Use Dick Utility to erase the disk.
Complete the fields:
- Name:
Macintosh HD - Format:
Mac OS Extended (Journaled)(Don’t chooseAPFS) - Scheme (if available):
GUID Partition Map
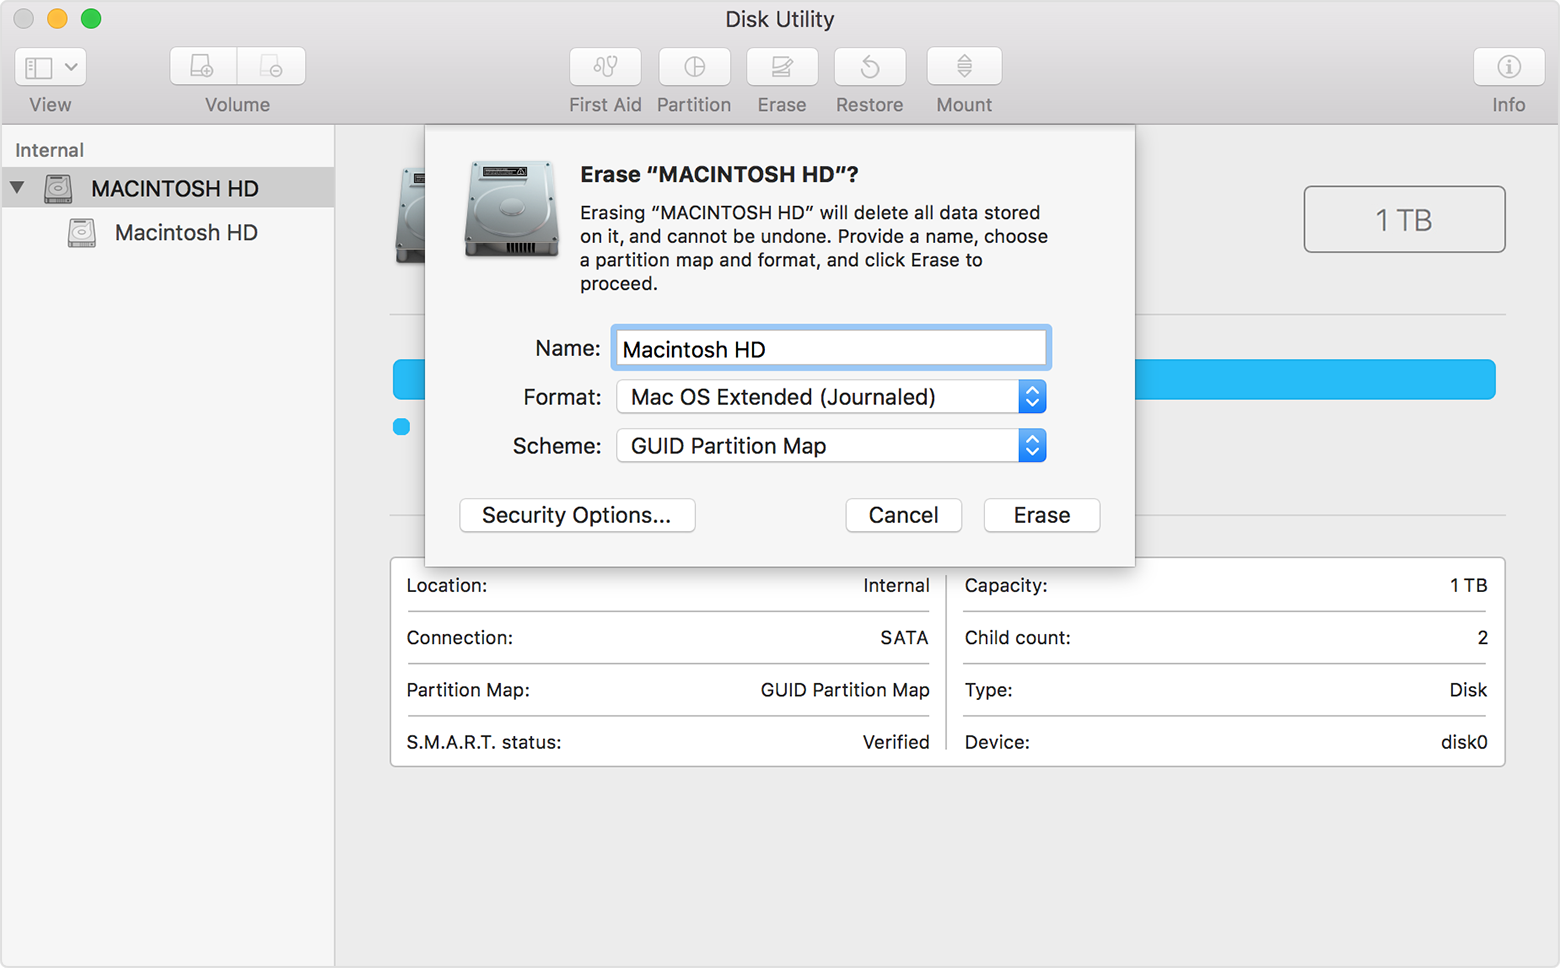
Note: If I choose
APFSas the format, it would always fails to reinstall the macOS. So, I recommand to useMac OS Extended (Journaled)instead.
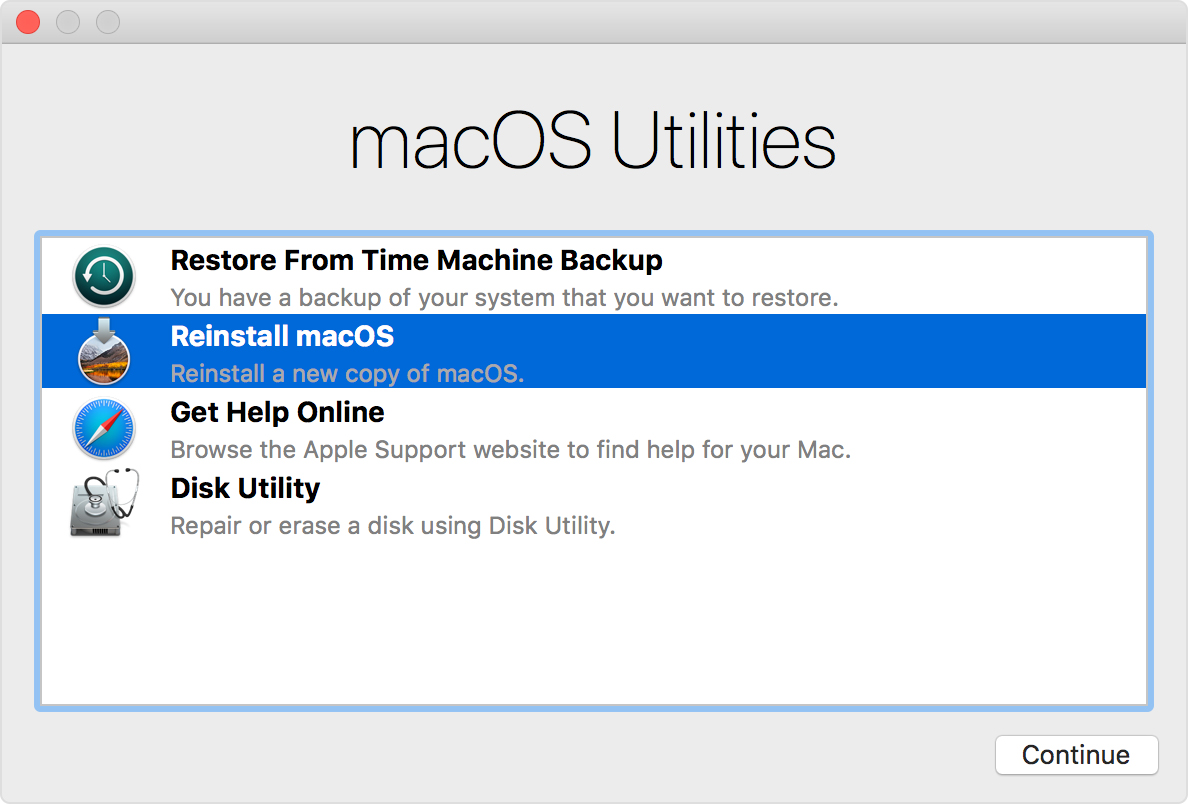
(3) Reinstall macOS
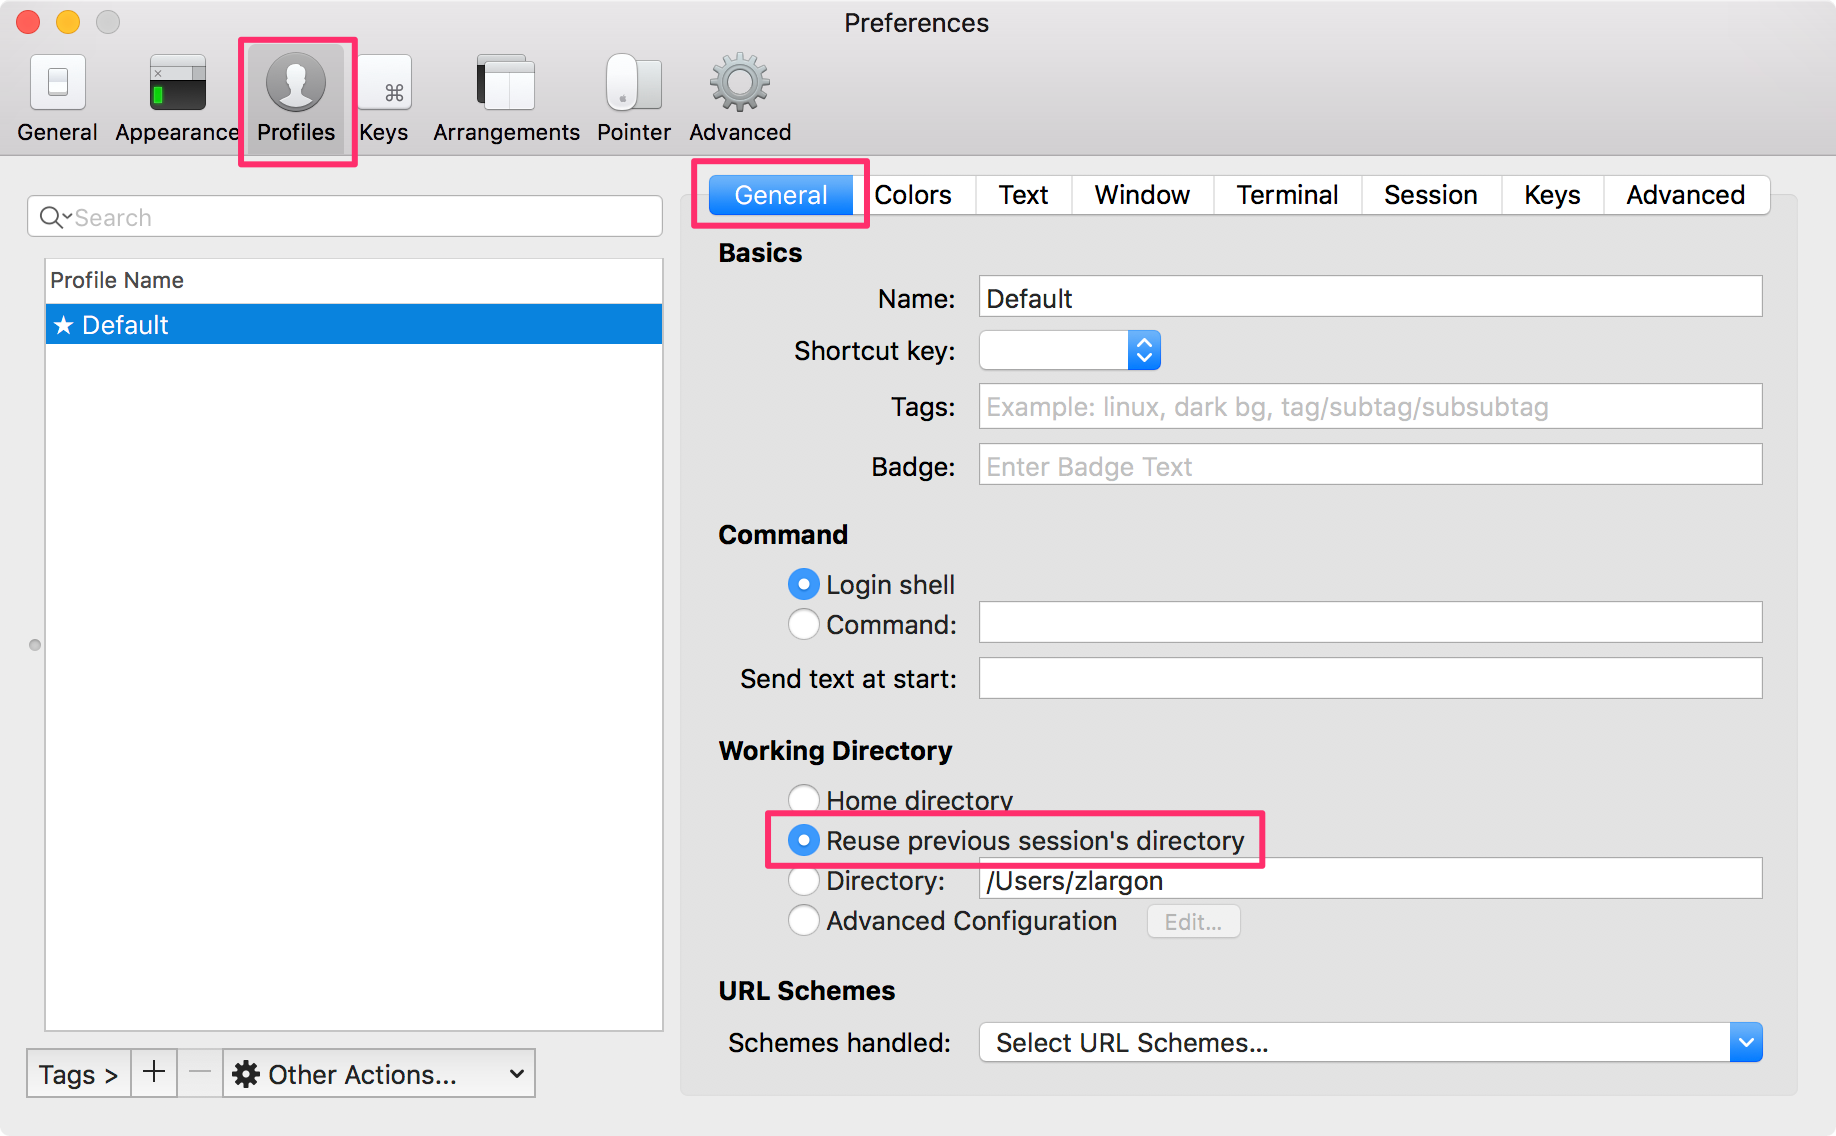
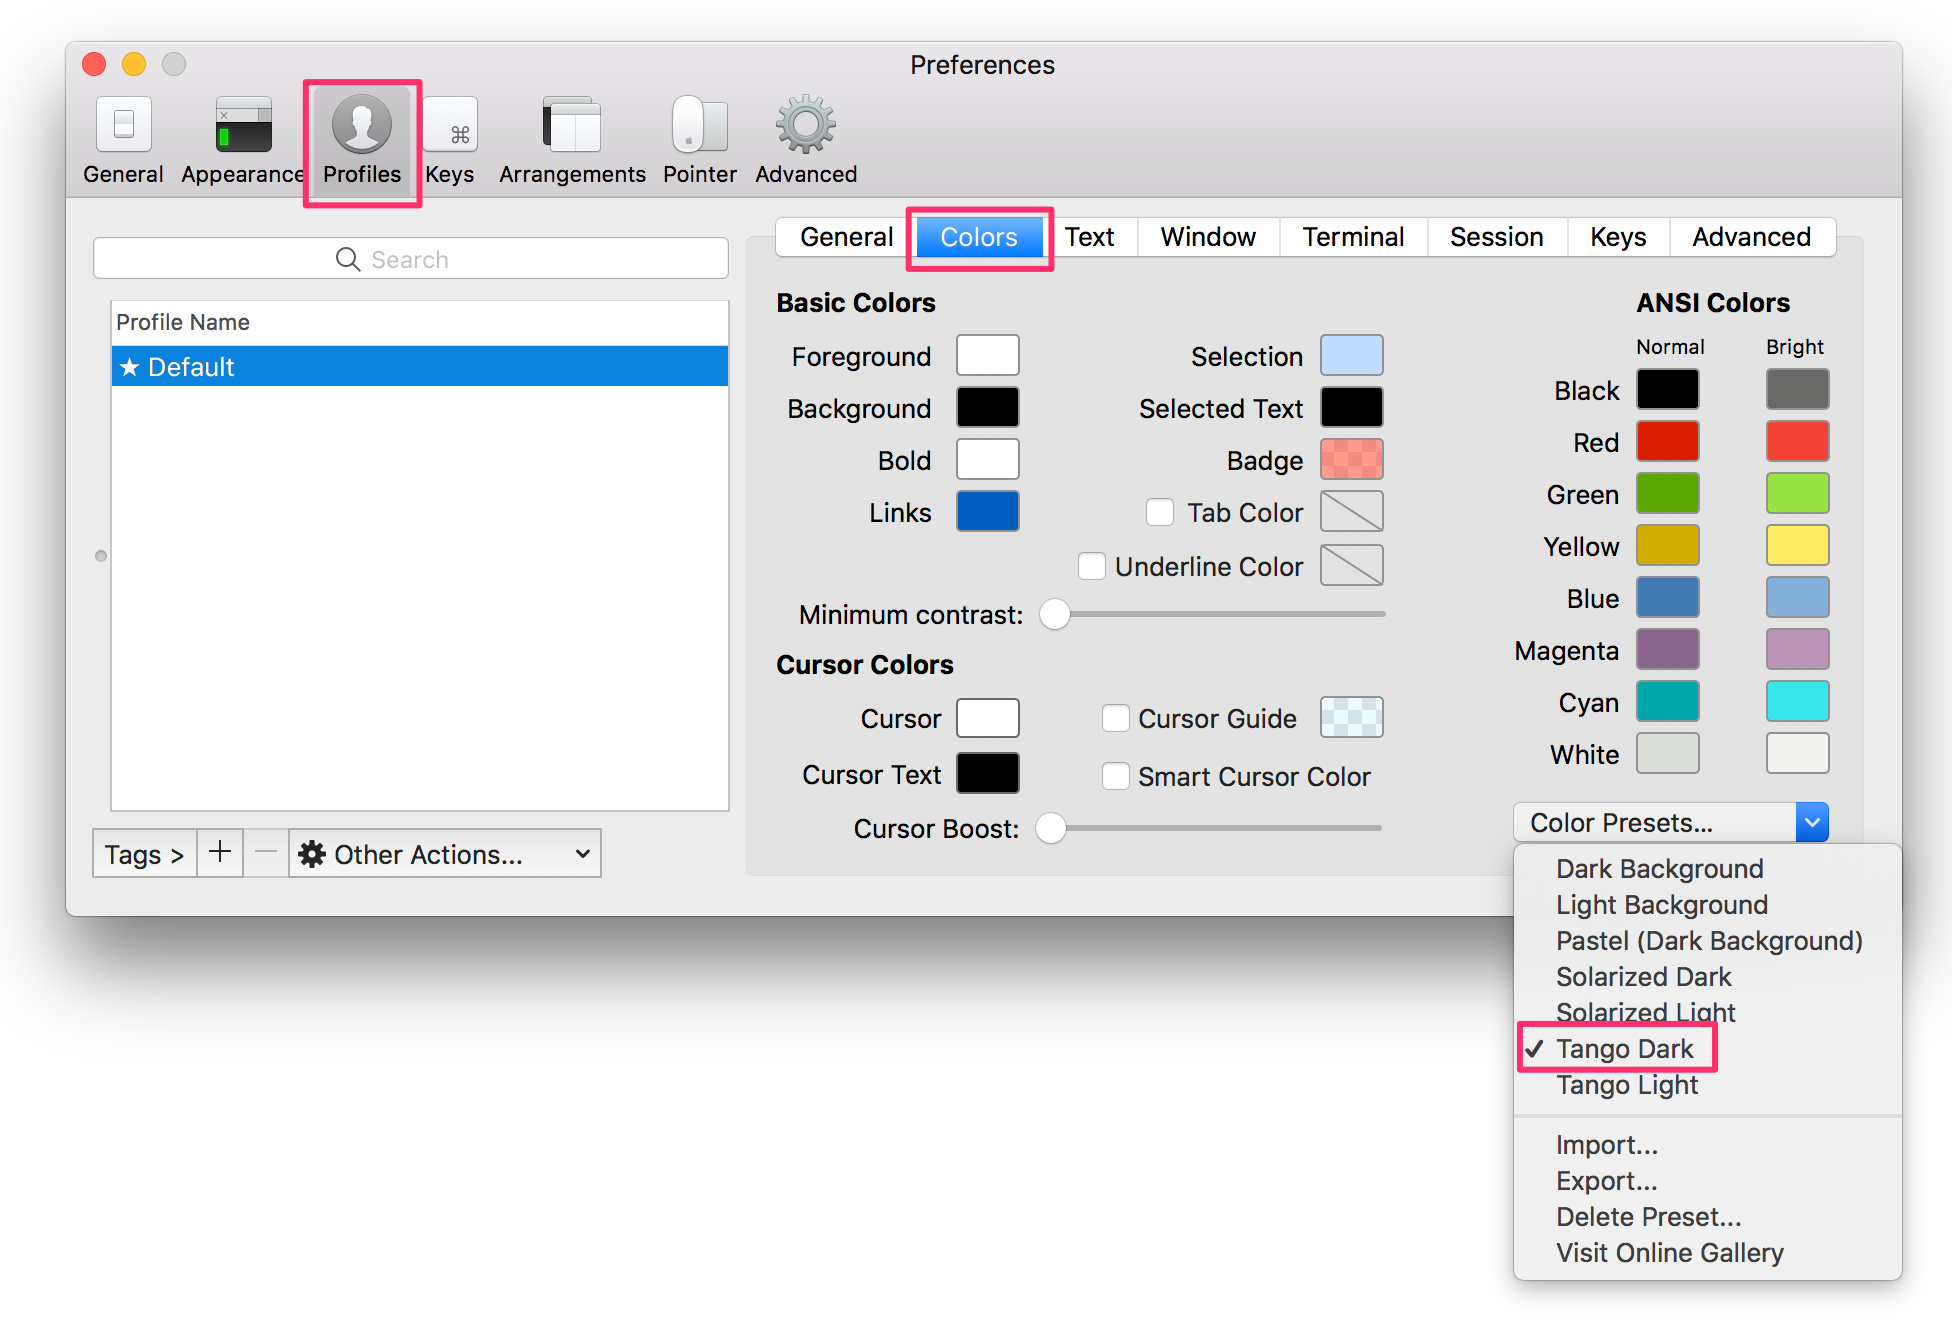
2. iTerm2 (download)
(1) Reuse Session’s Directory
(2) Color Theme: Tango Dark
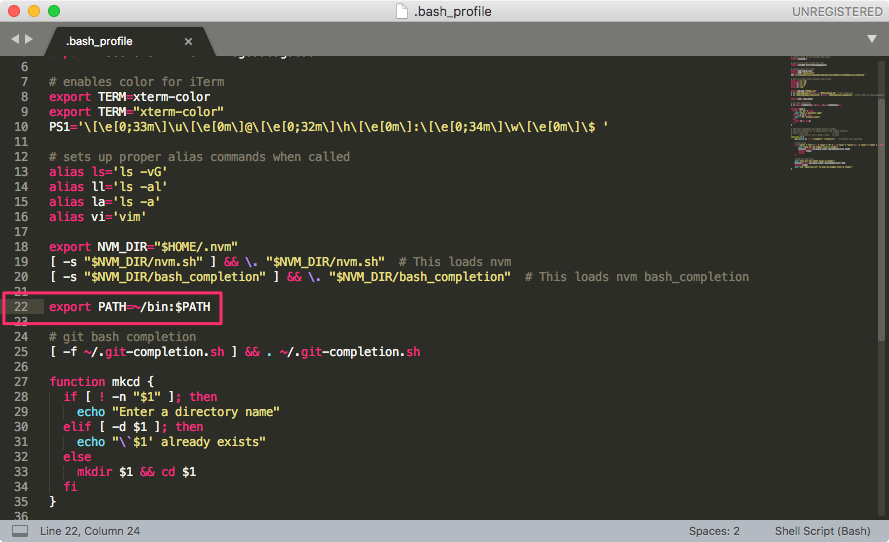
3. .bash_profile
1 | # enables color in the terminal bash shell |
4. vim
Download color theme Gruvbox to ~/.vim/colors/gruvbox.vim and edit ~/.vimrc:
1 | syntax on |
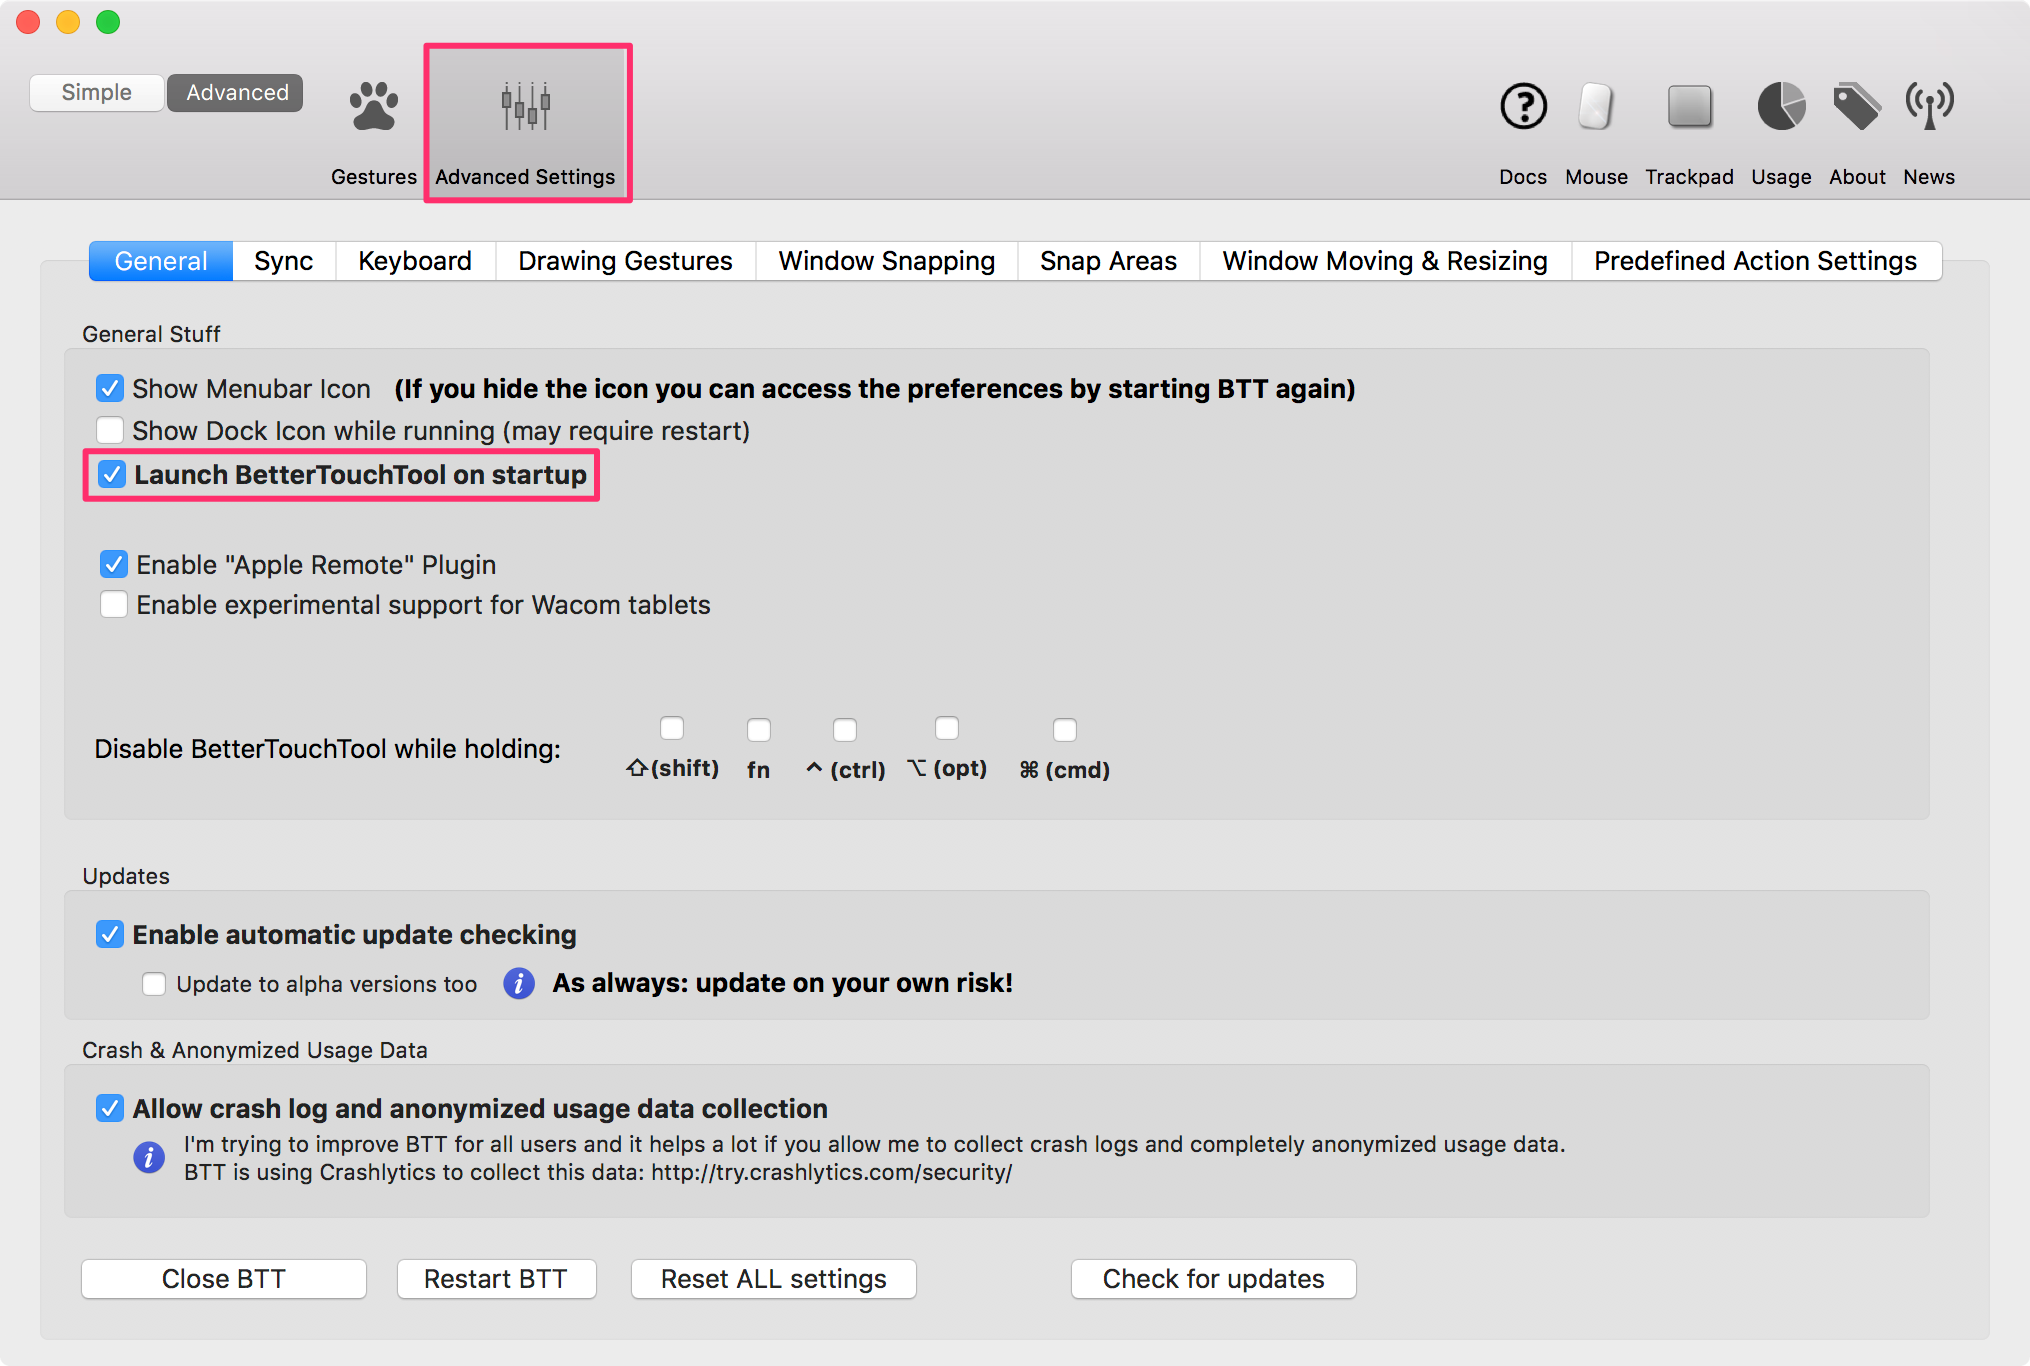
5. BetterTouchTool (download)
(1) launch BetterTouchTool on startup
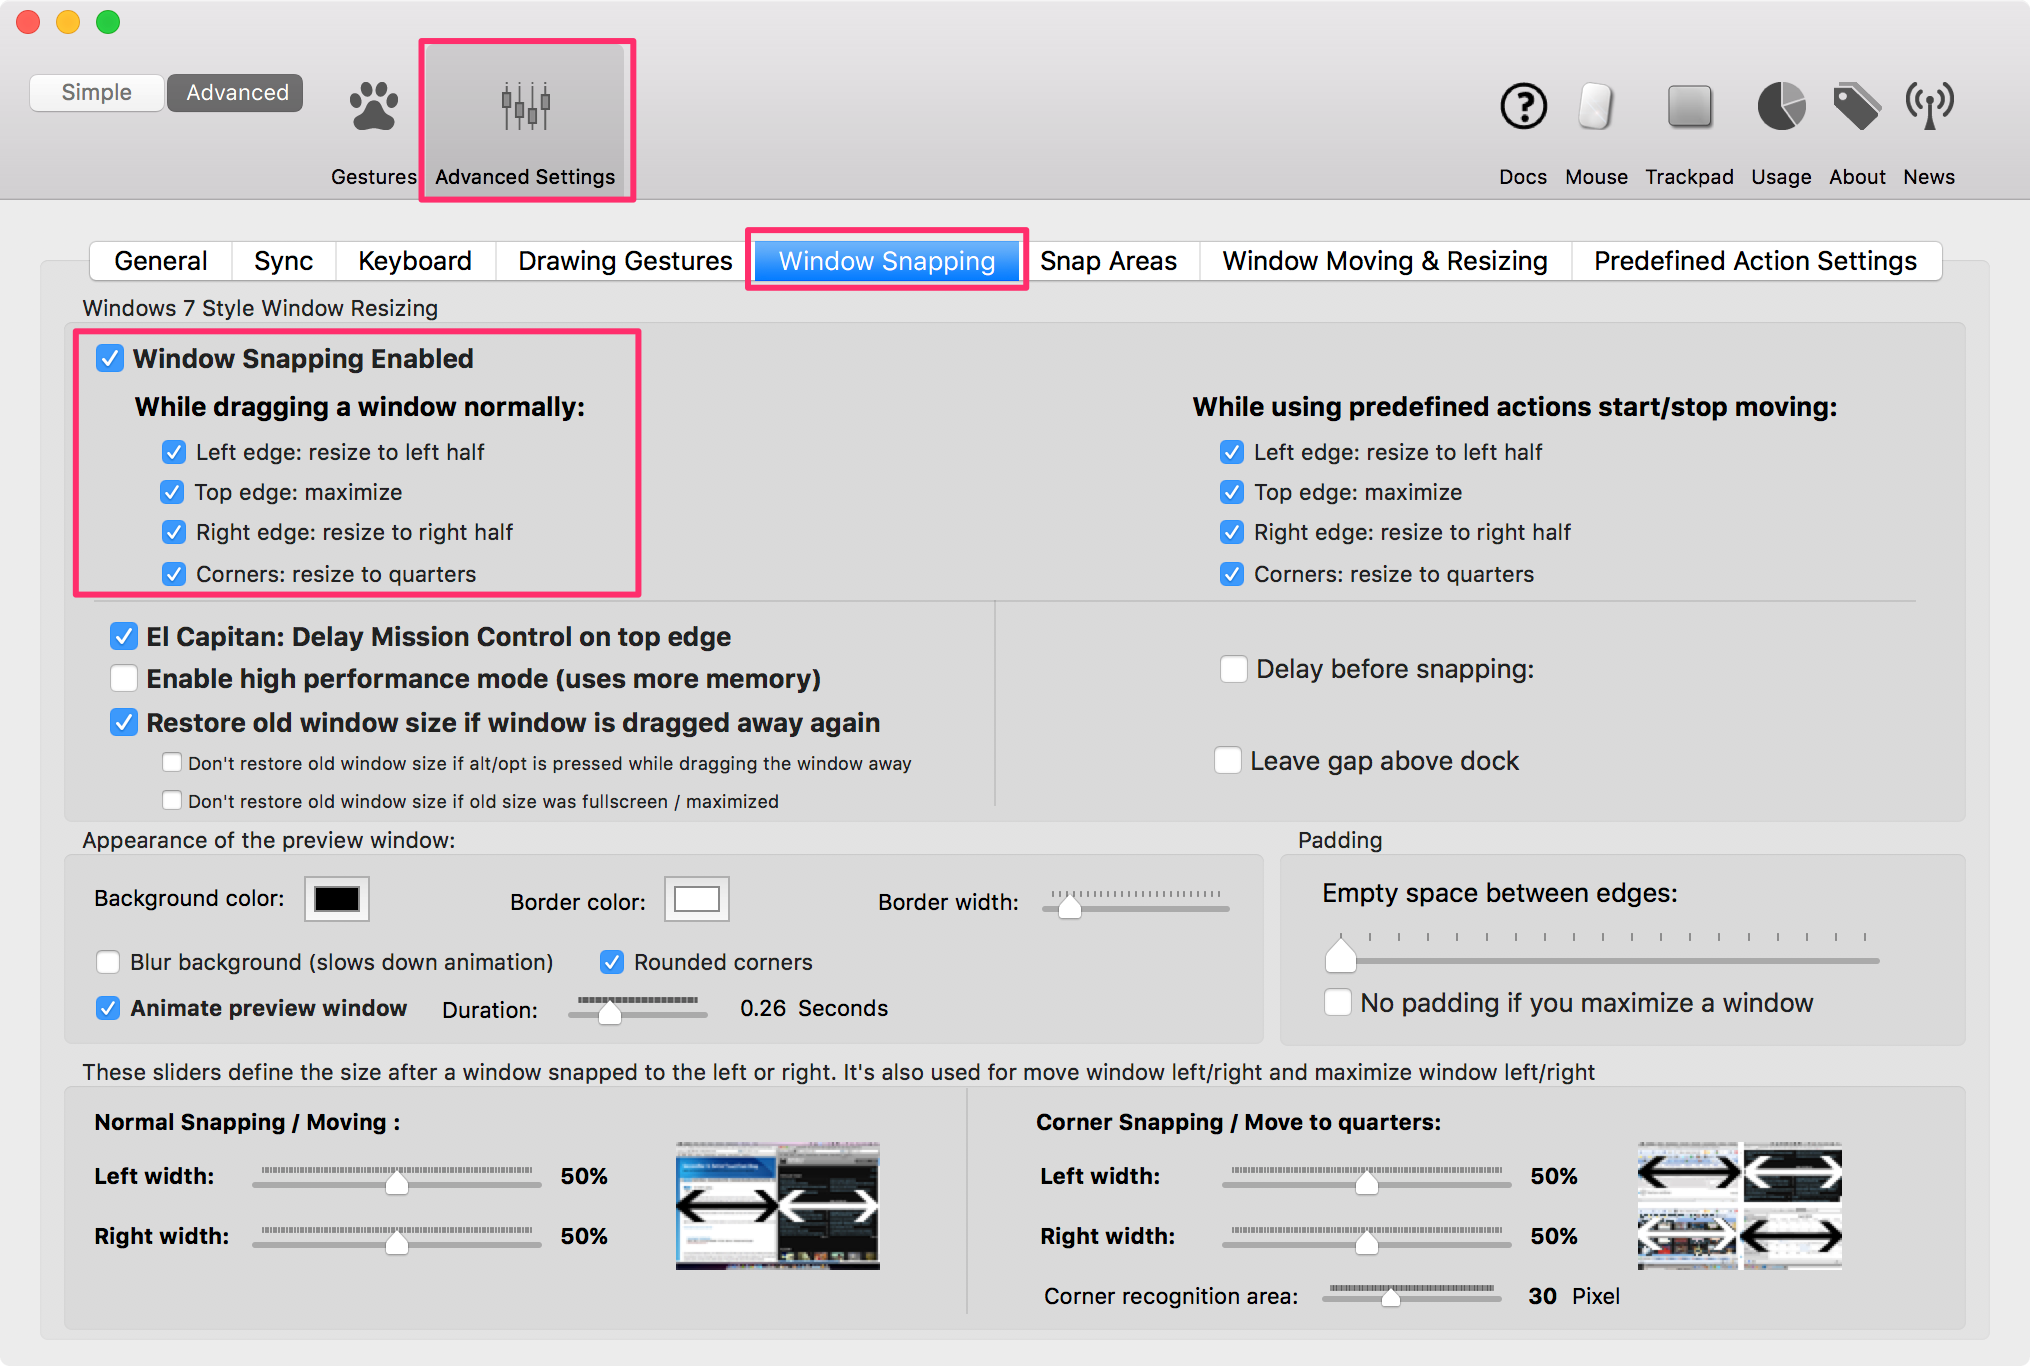
(2) Window Snapping
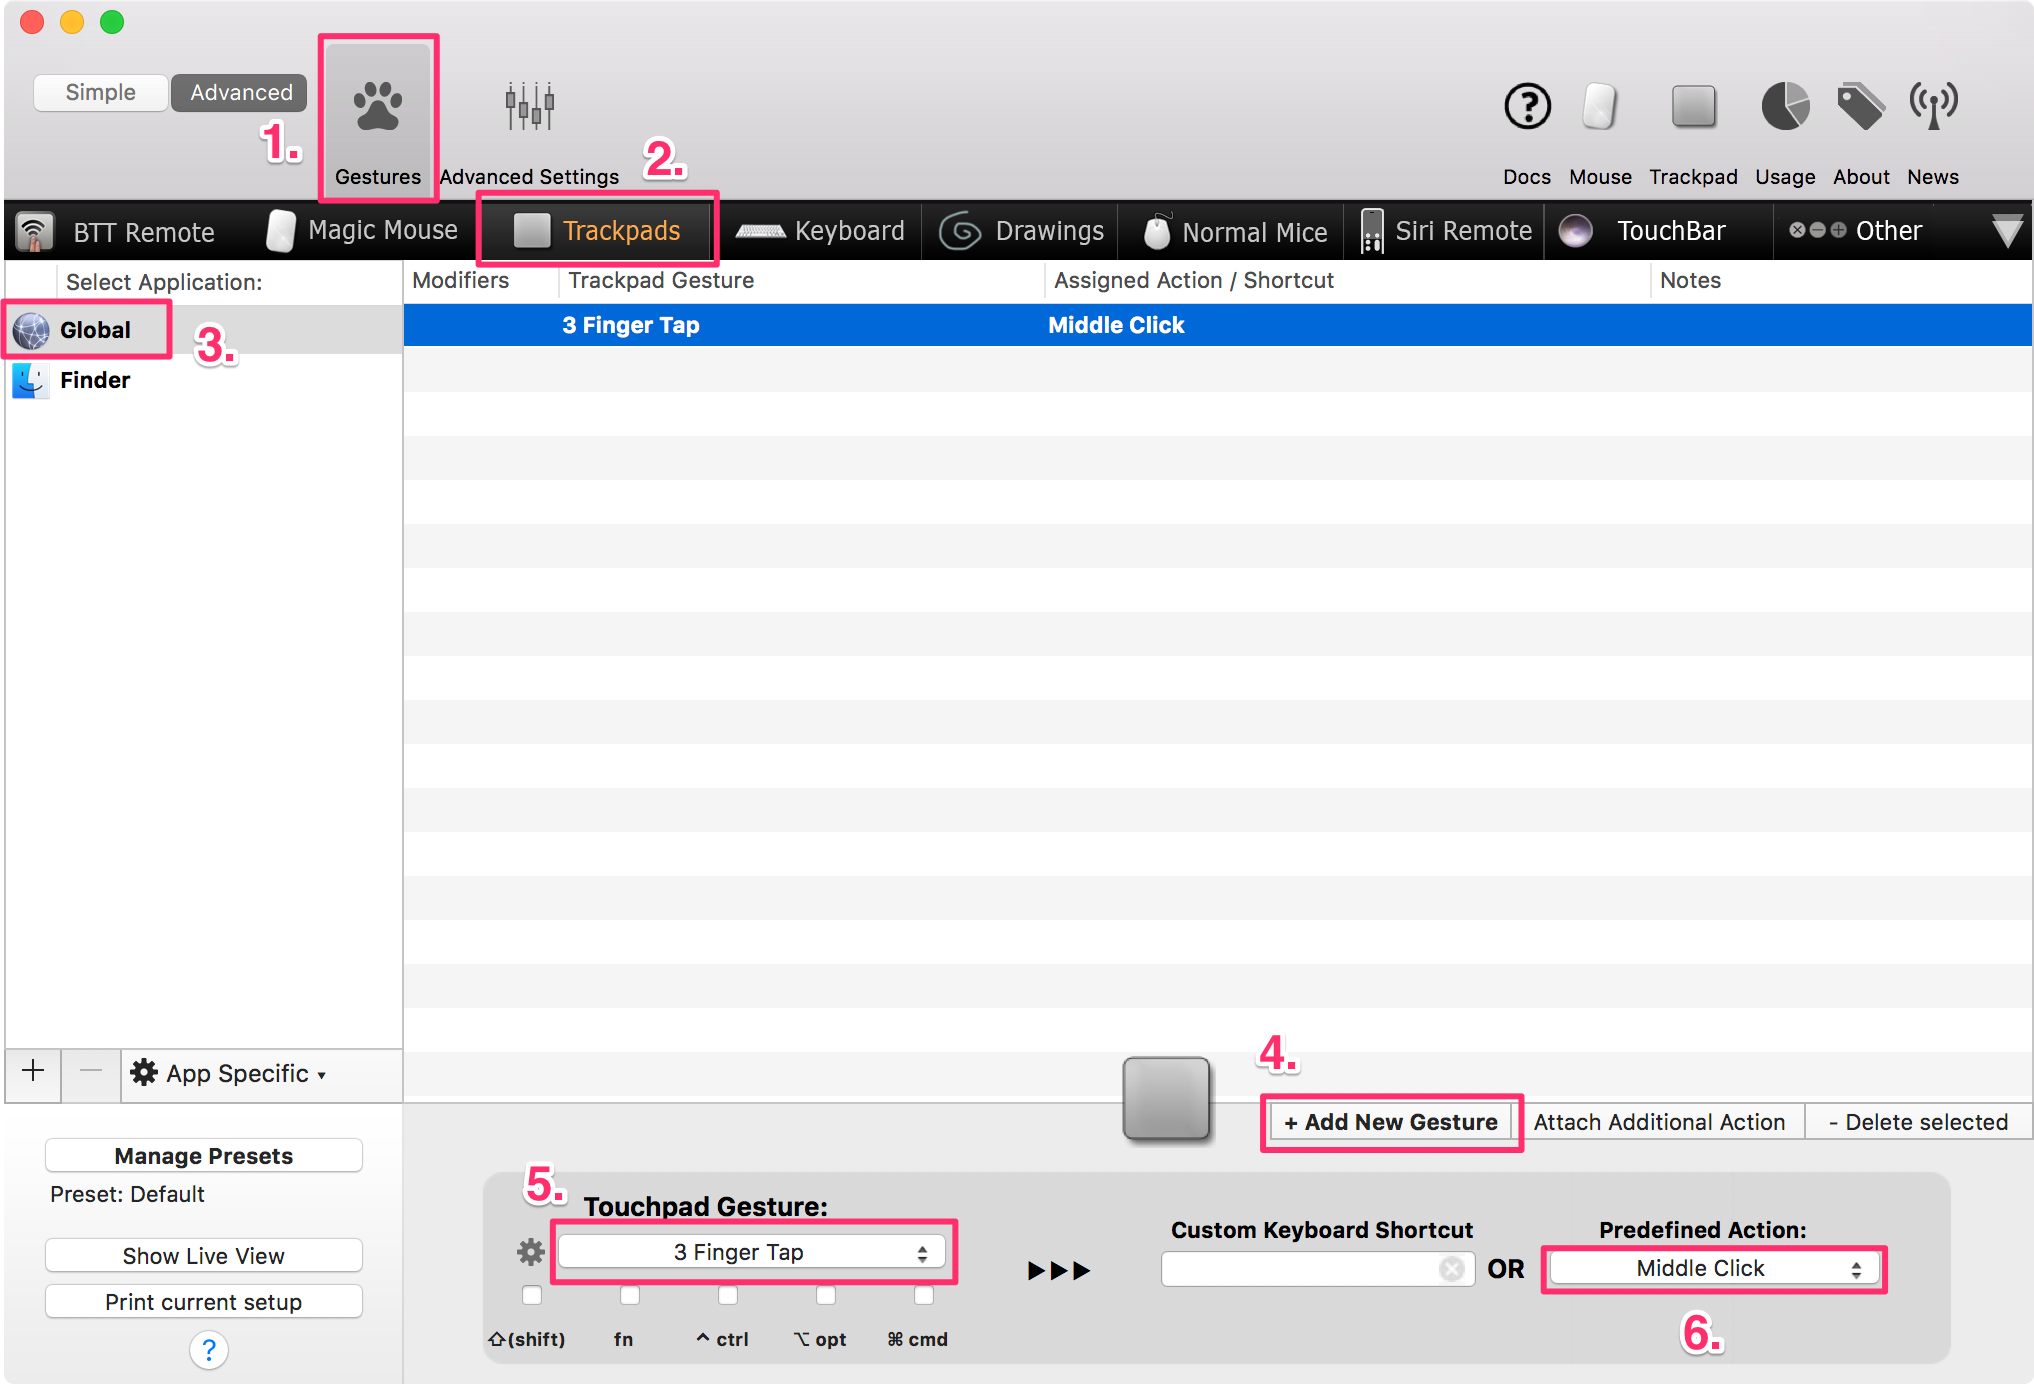
(3) Three Finger Tap = Mouse Middle Click
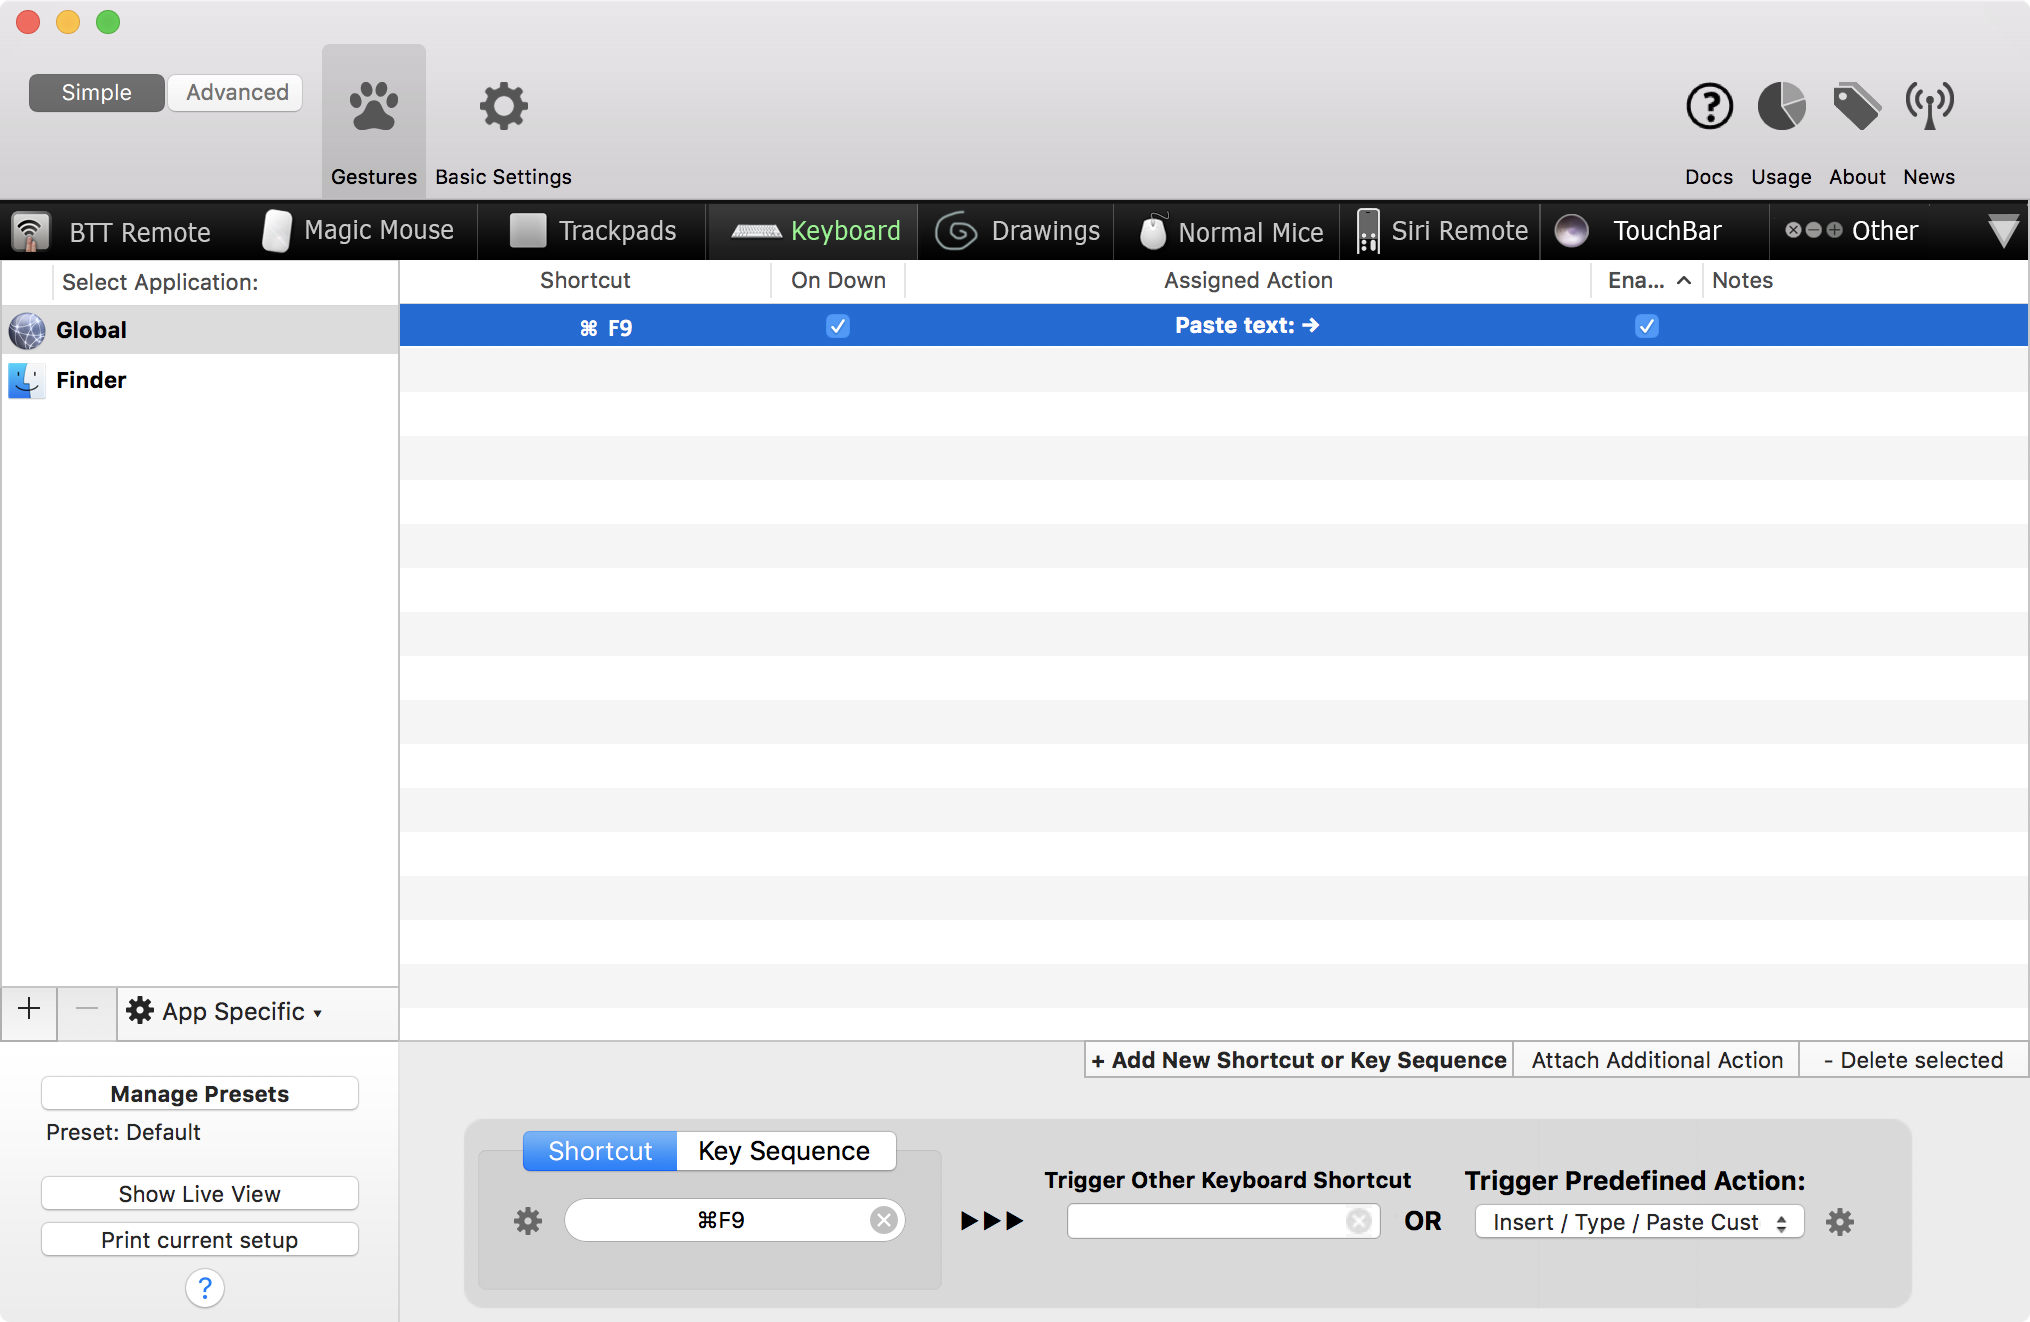
(4) Setup shortcut
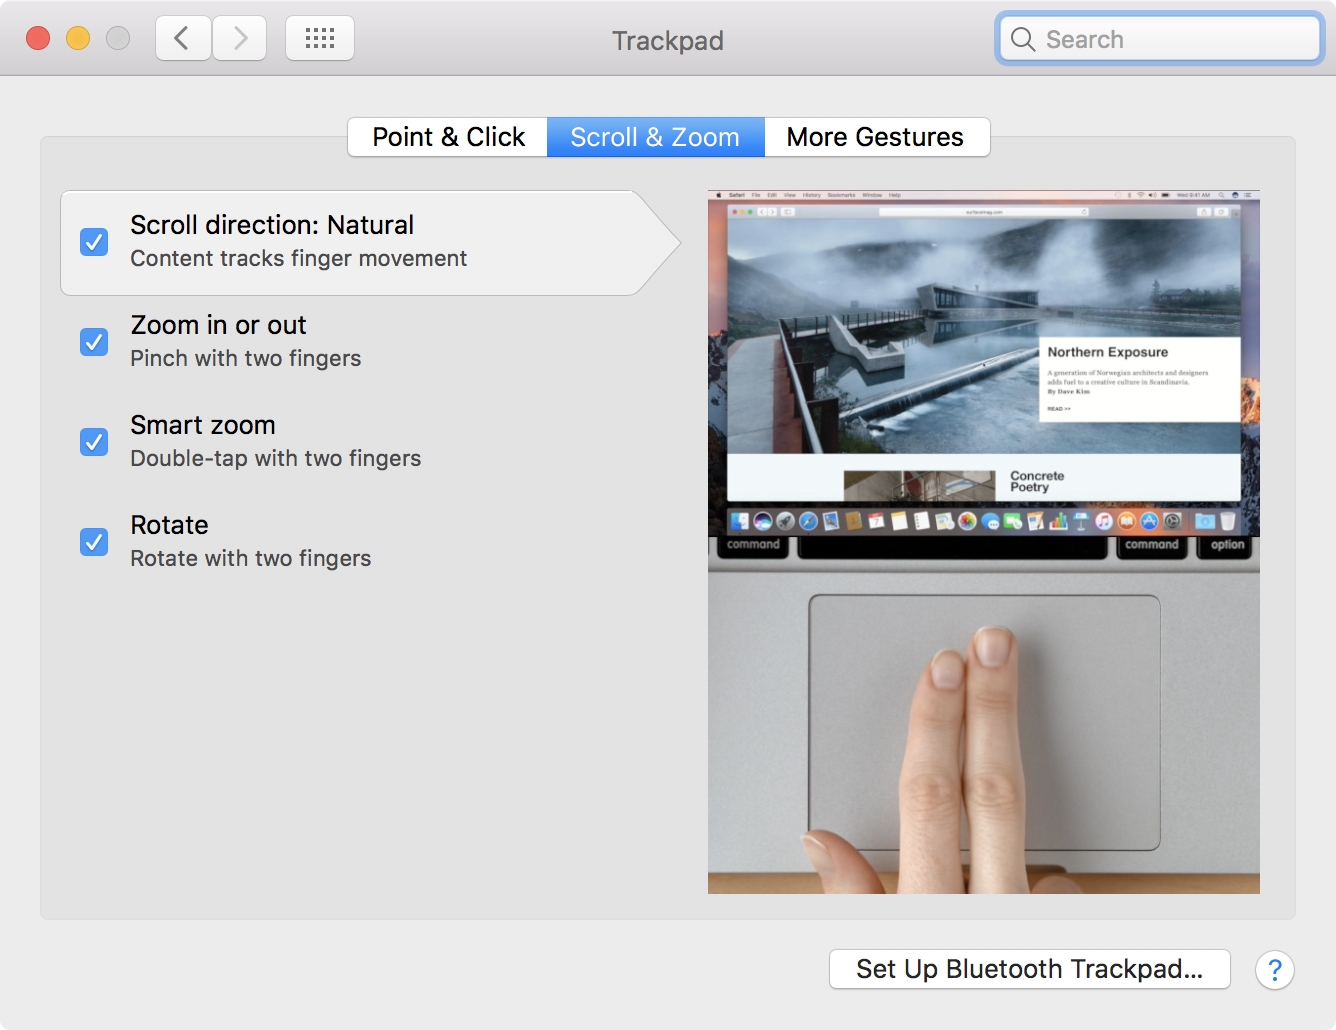
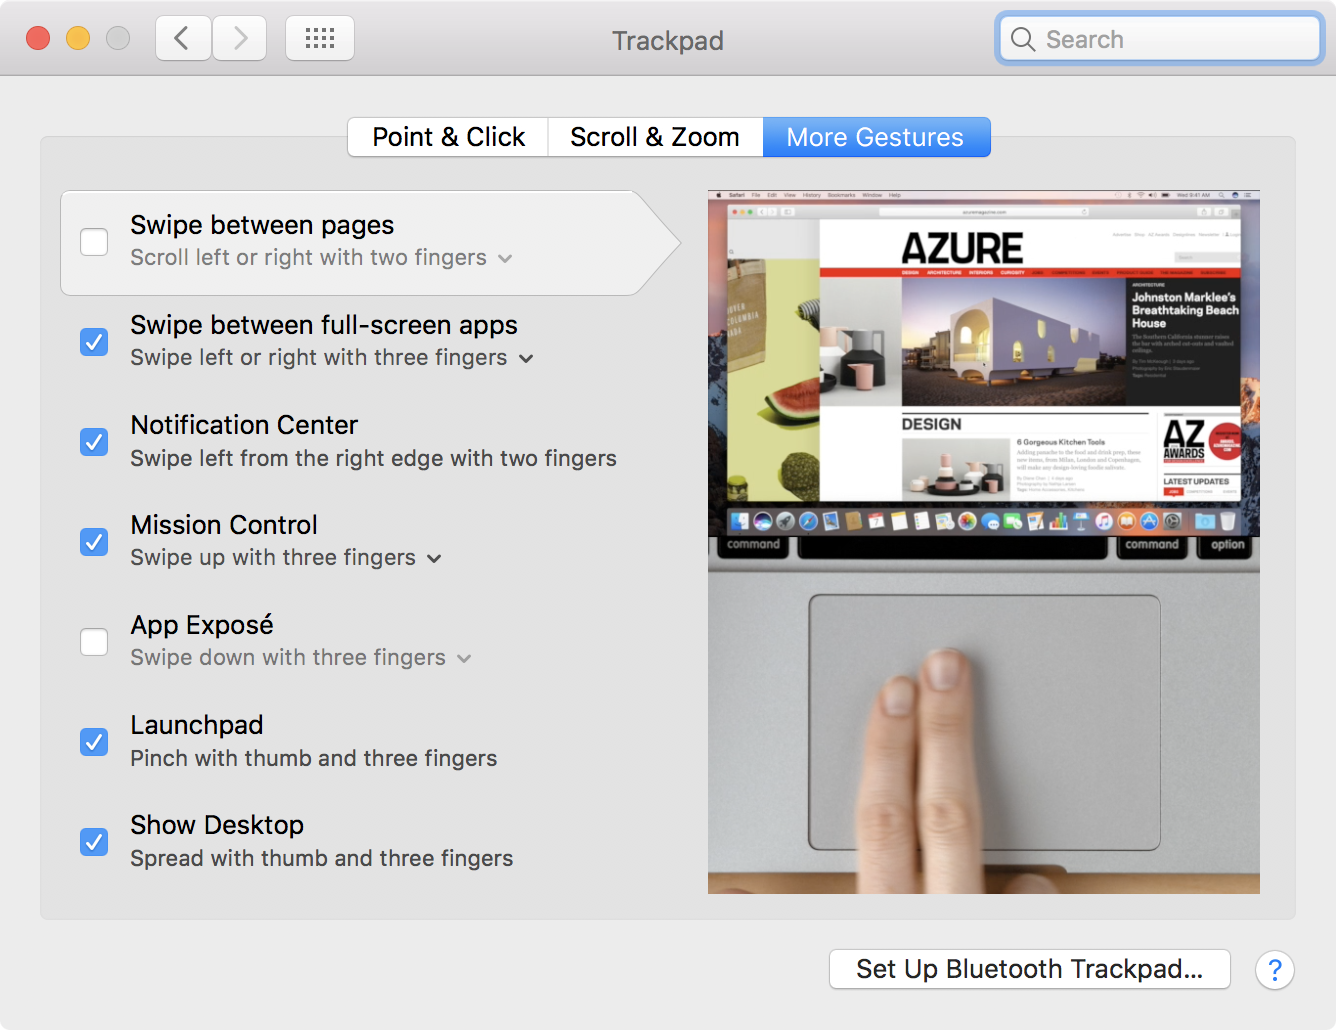
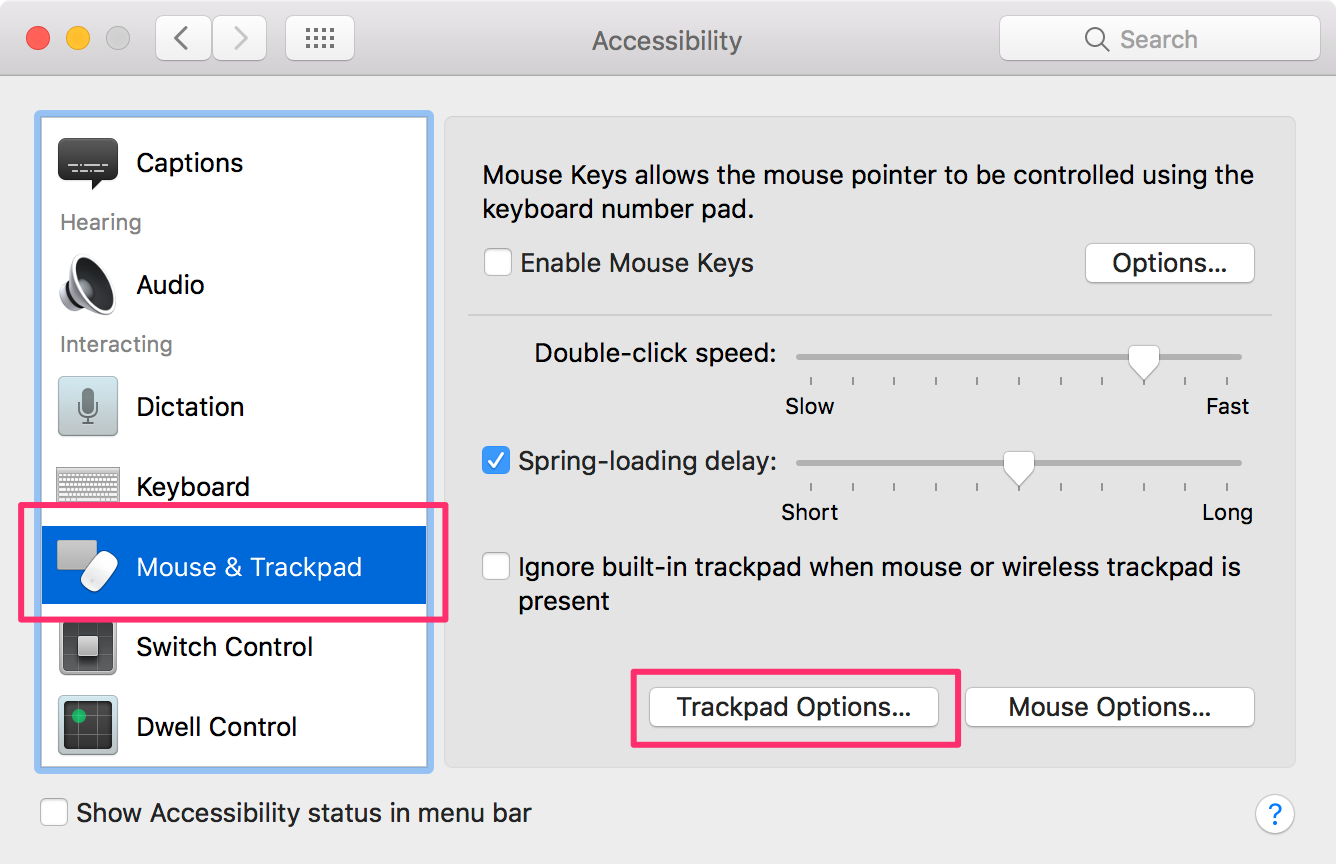
6. Trackpad
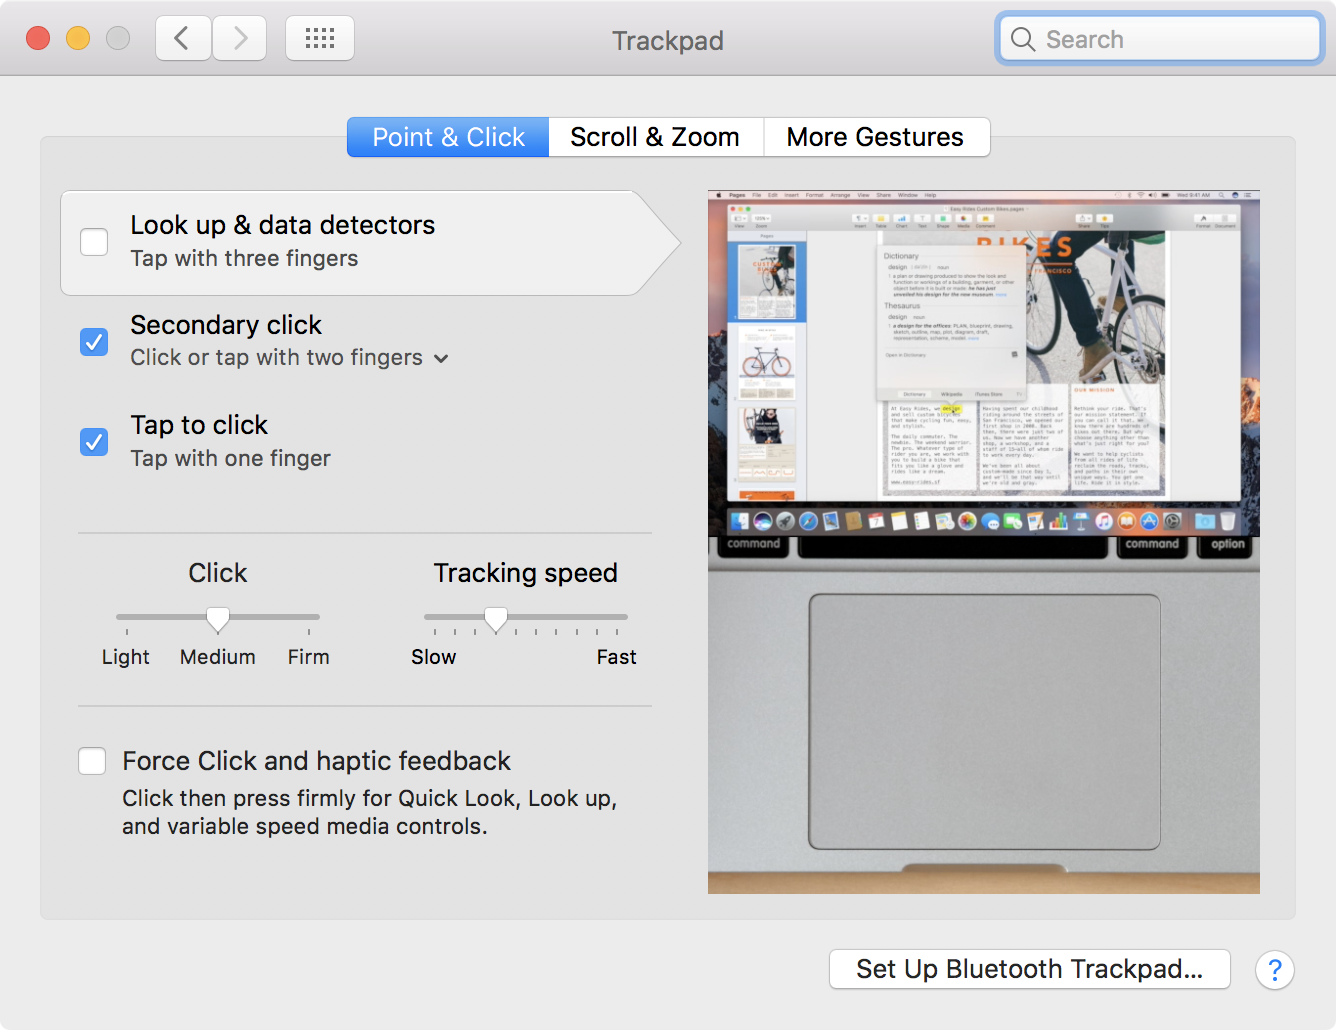
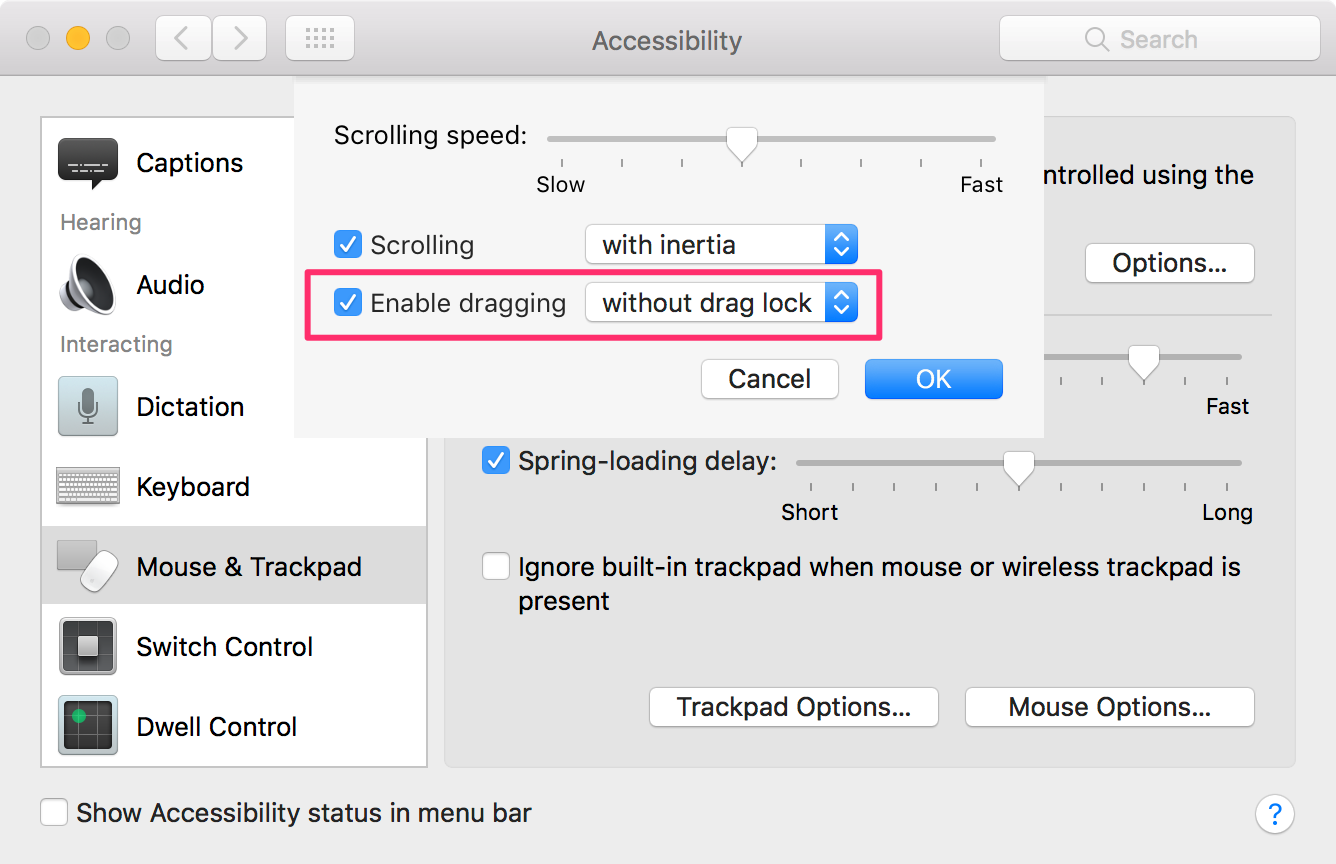
7. Enable Dragging

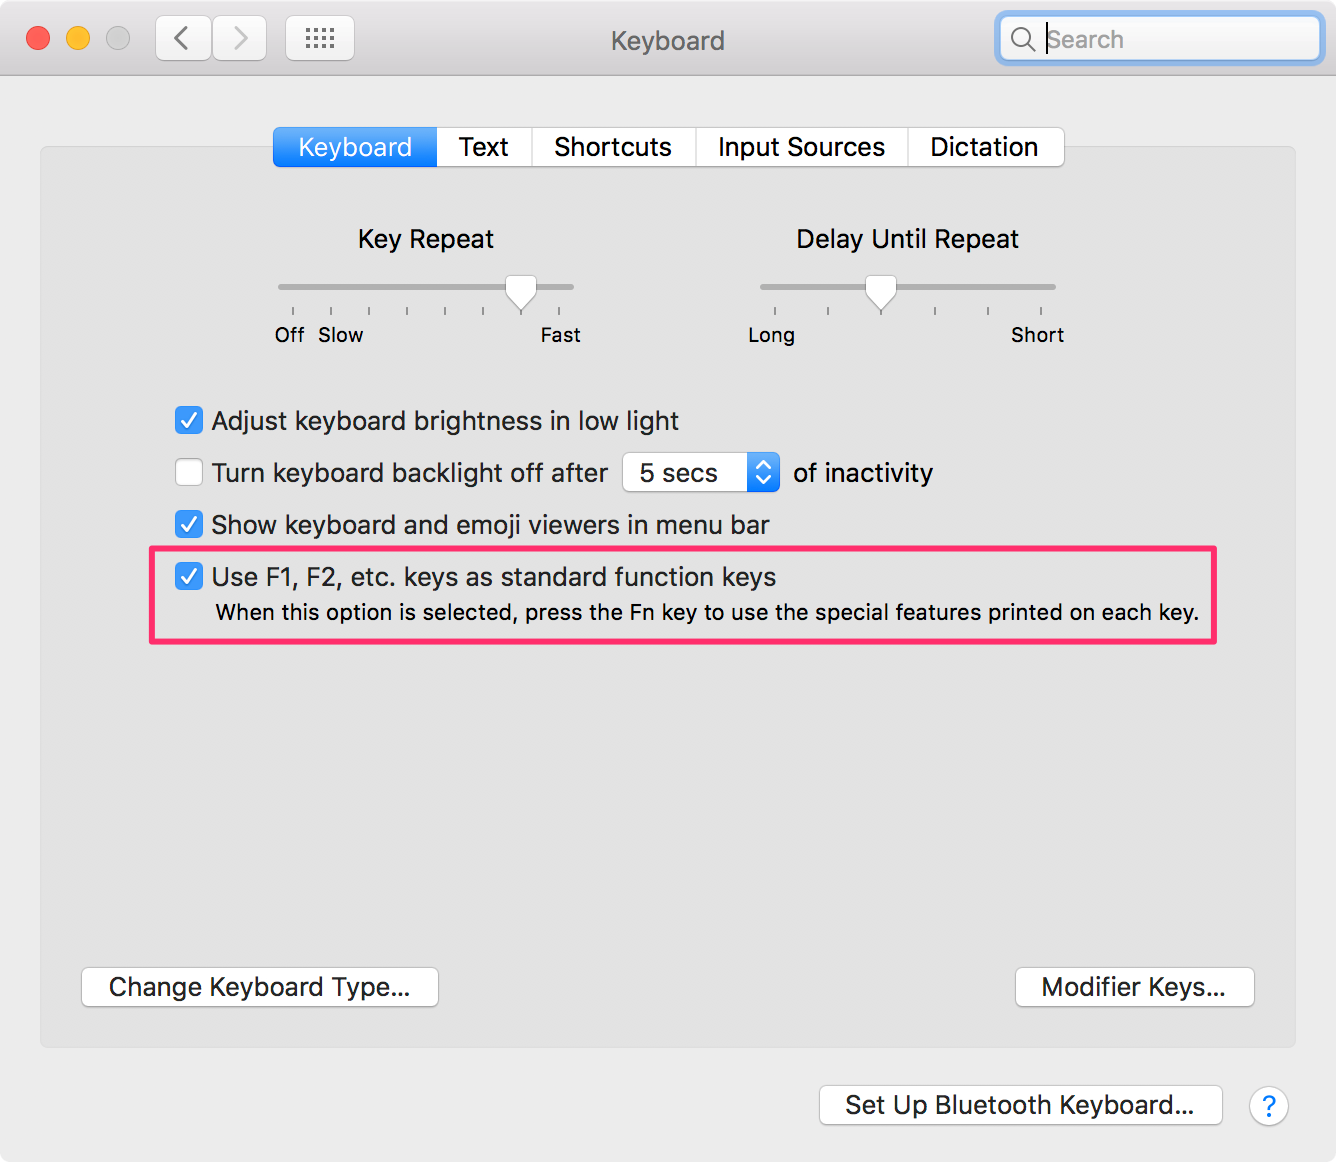
8. Enable Function Key for F1 ~ F12
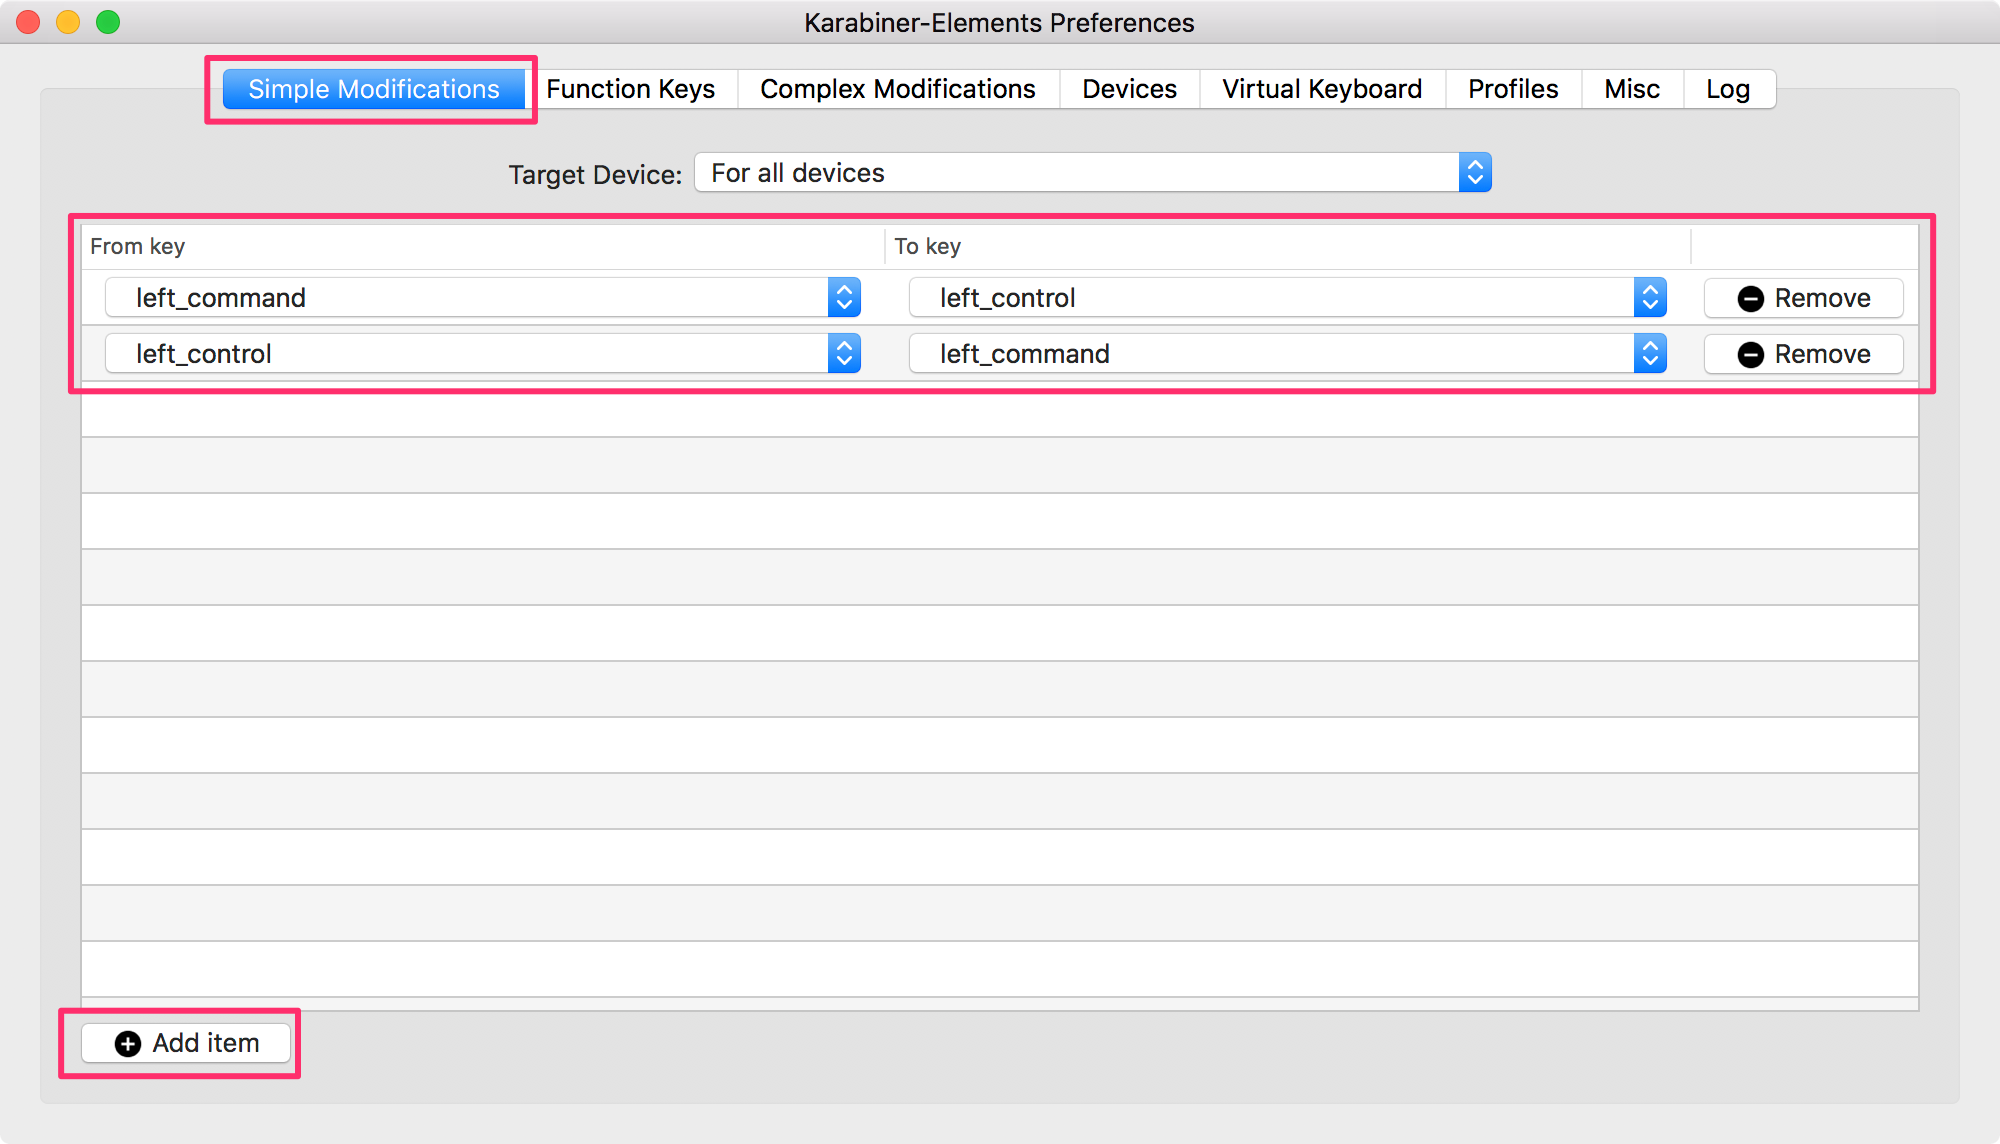
9. Karabiner-Element (download)
(1) Swap left_control and left_command (Simple Modification)
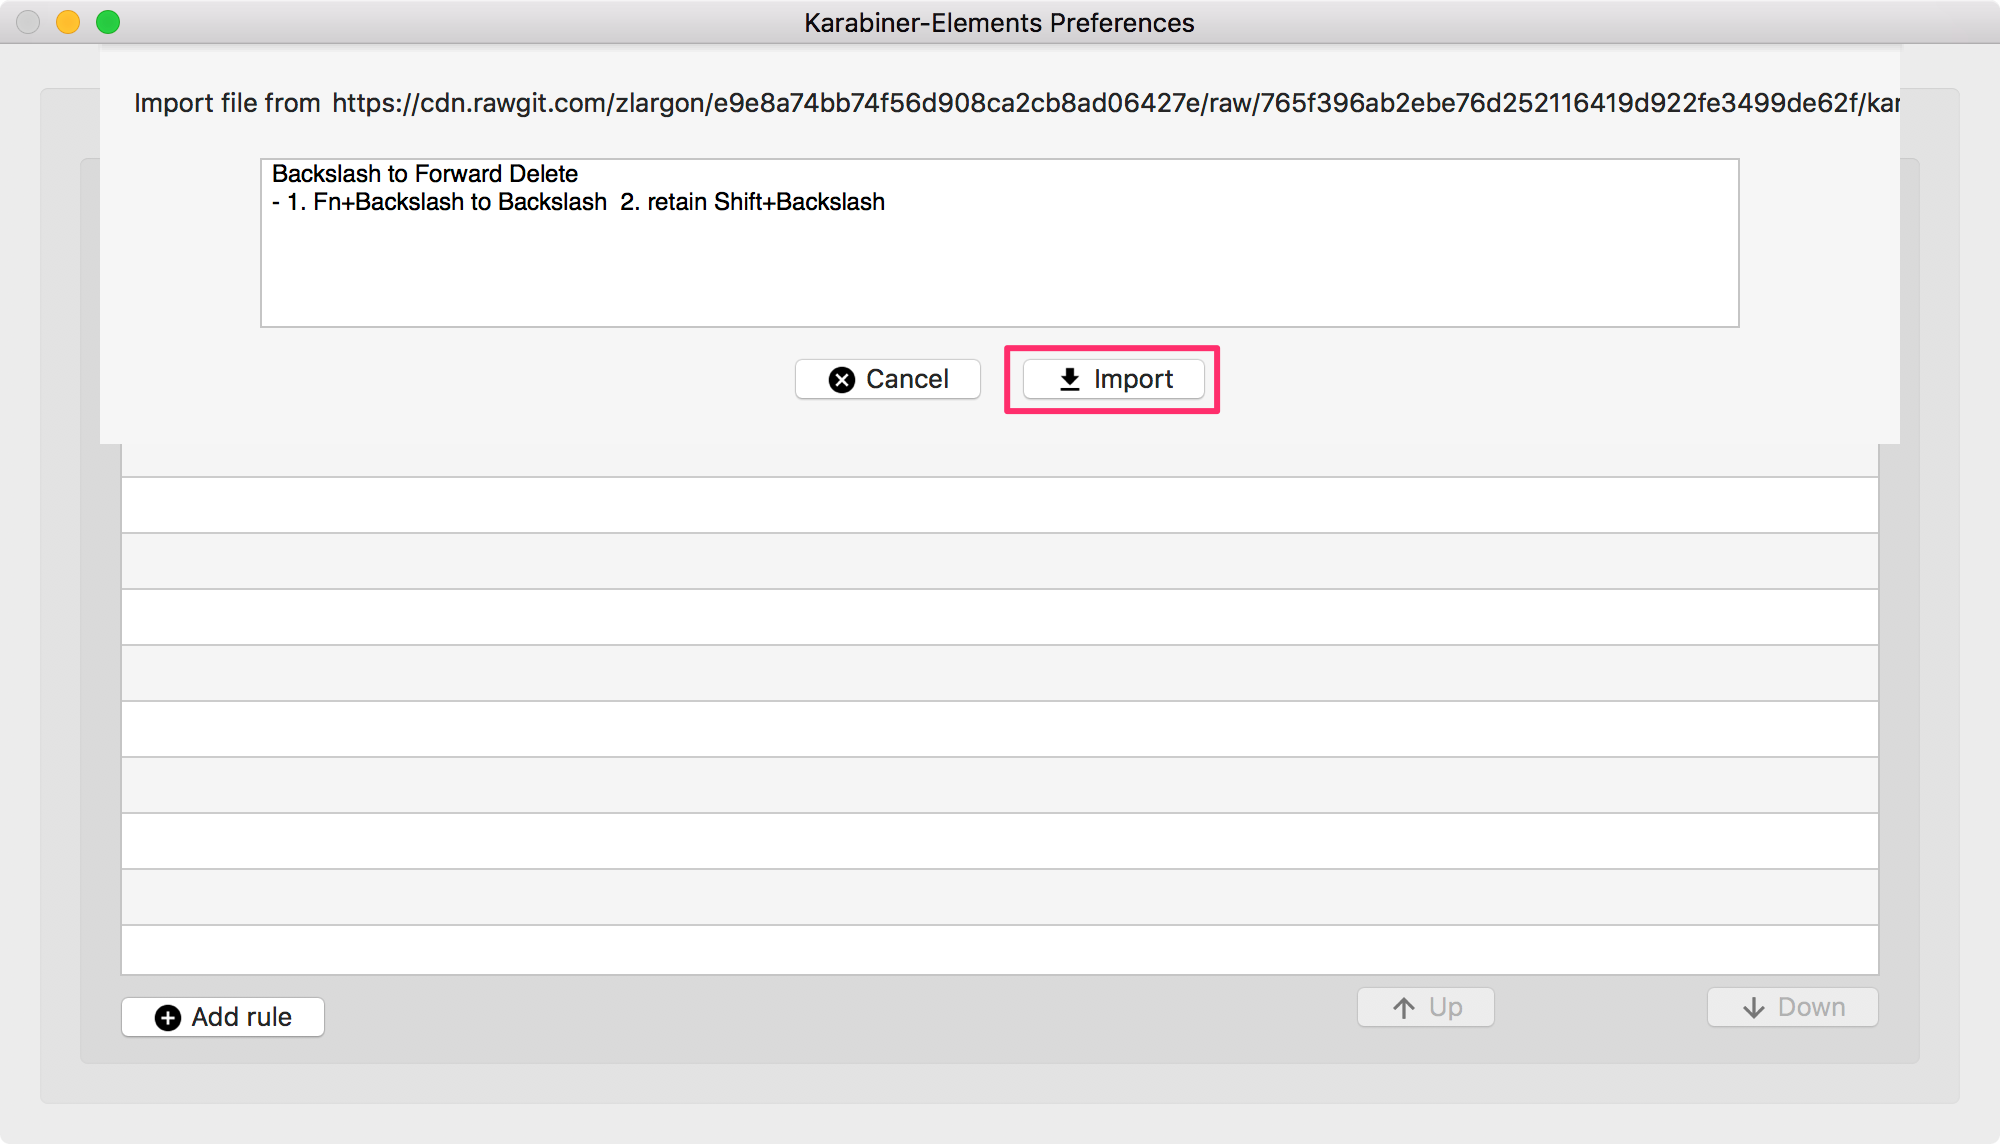
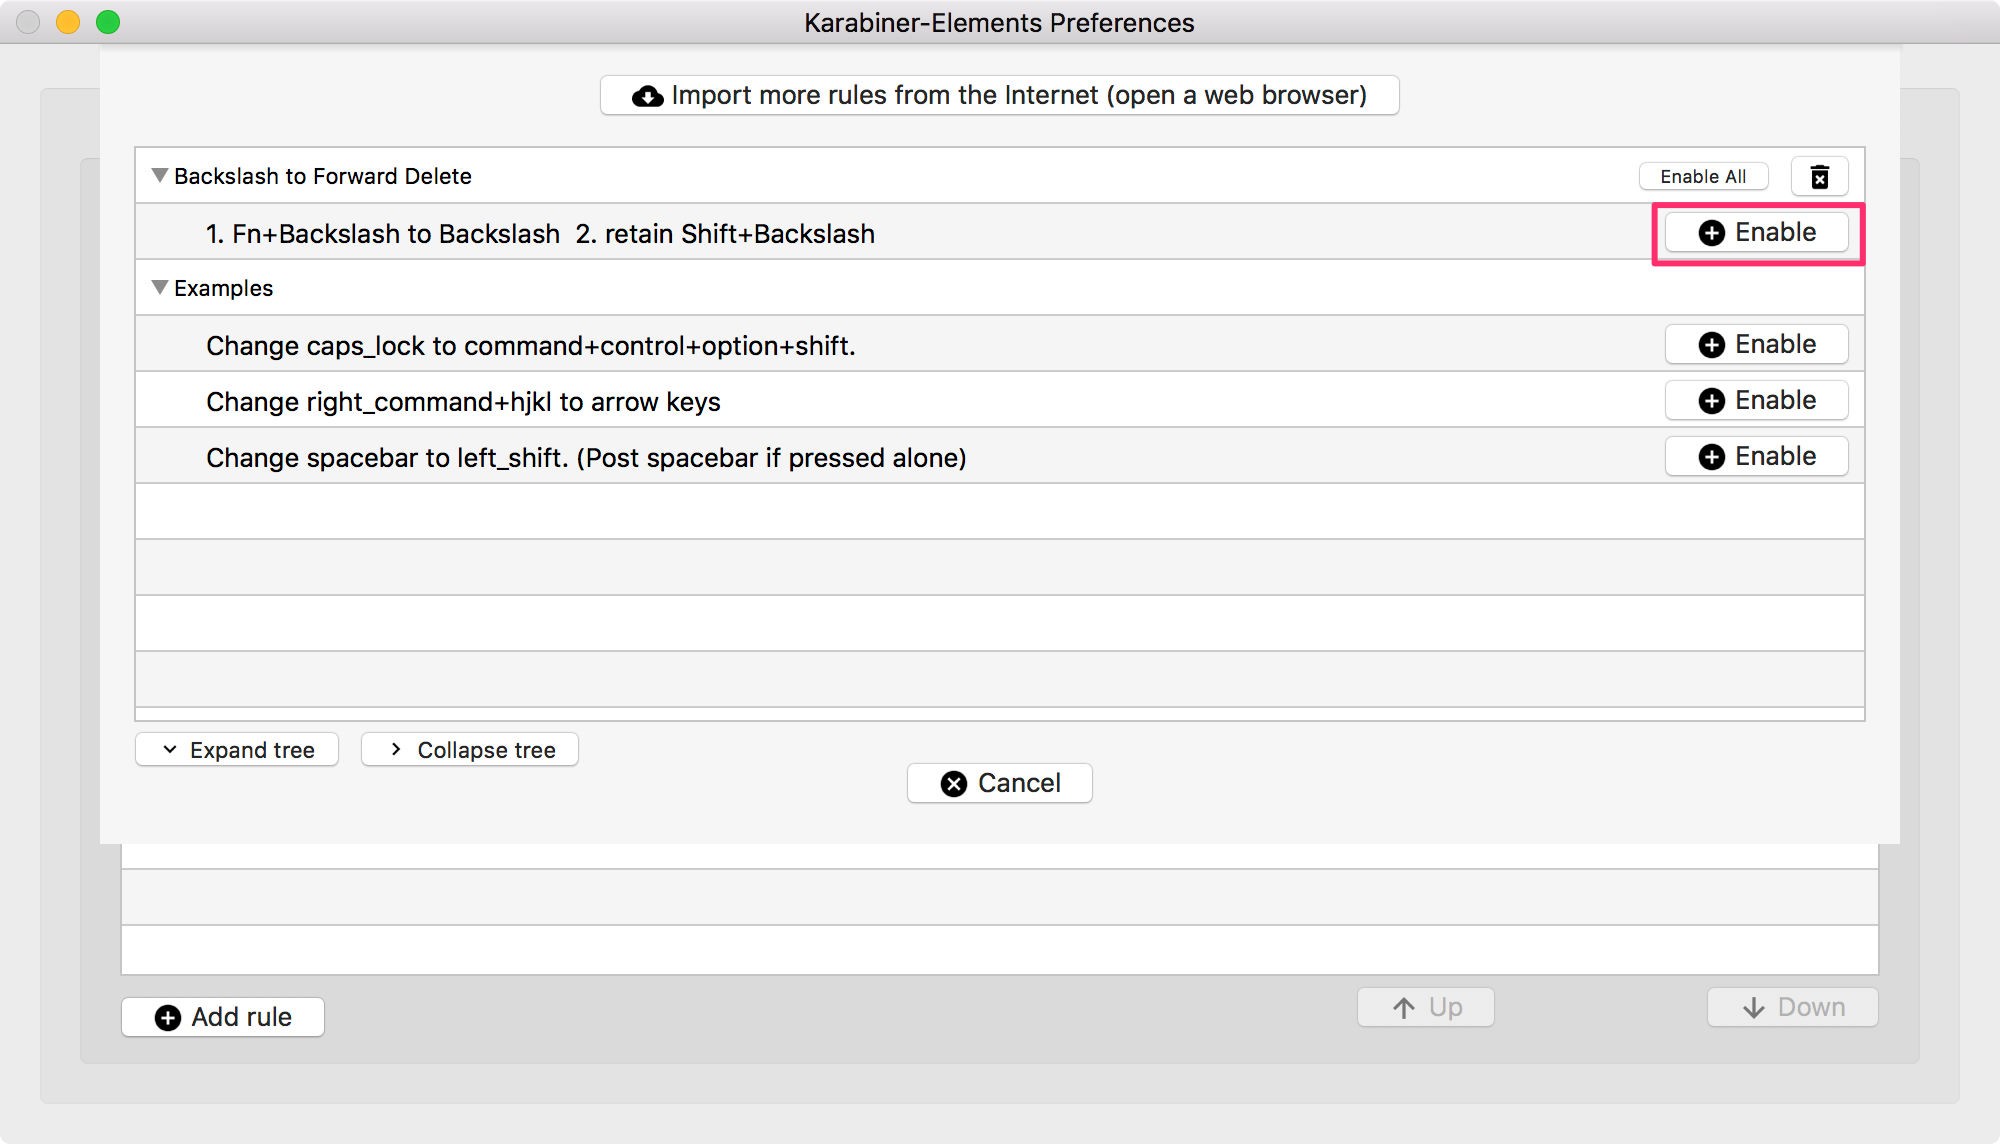
(2) Backslash to Forward Delete [Click to Import] (Complex Modification)
10. Alfred 2 (download)
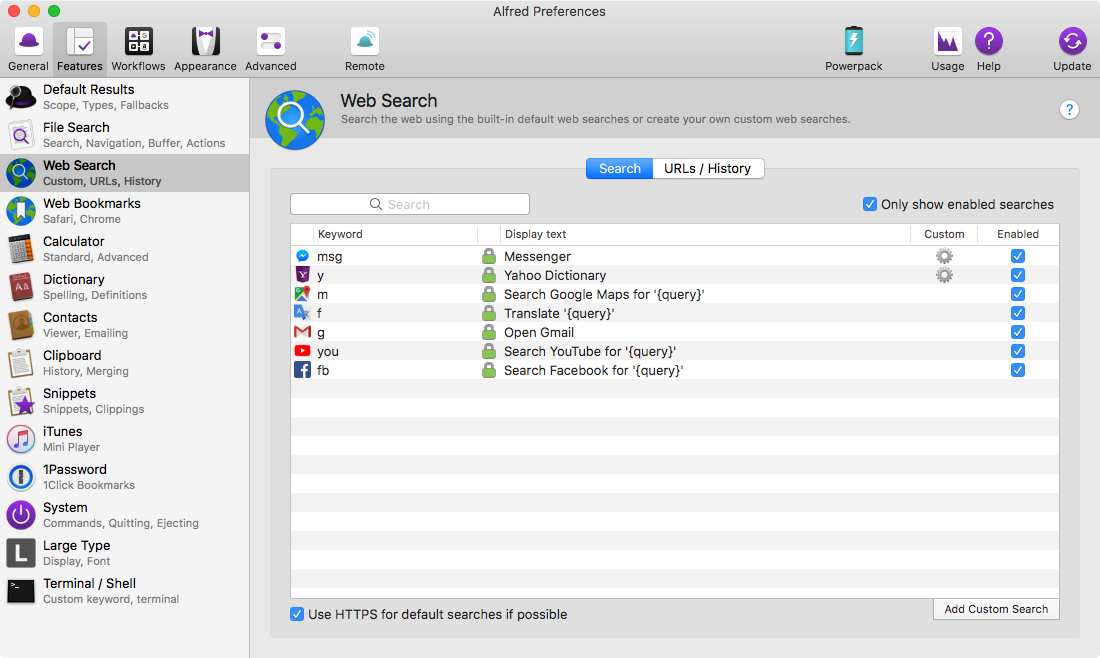
| Title | Keyword | Search URL |
|---|---|---|
| Messenger | msg |
https://www.messenger.com/ |
| Yahoo Dictionary | y |
https://tw.dictionary.yahoo.com/dictionary?p={query} |
| Google Maps | m |
– |
| Translate | f |
– |
| Gmail | g |
– |
| Youtube | you |
– |
fb |
– |
11. Sublime Text 3 (download)
(1) Enable Sublime Text Command Line
1 | mkdir ~/bin |
1 | # export ~/bin |
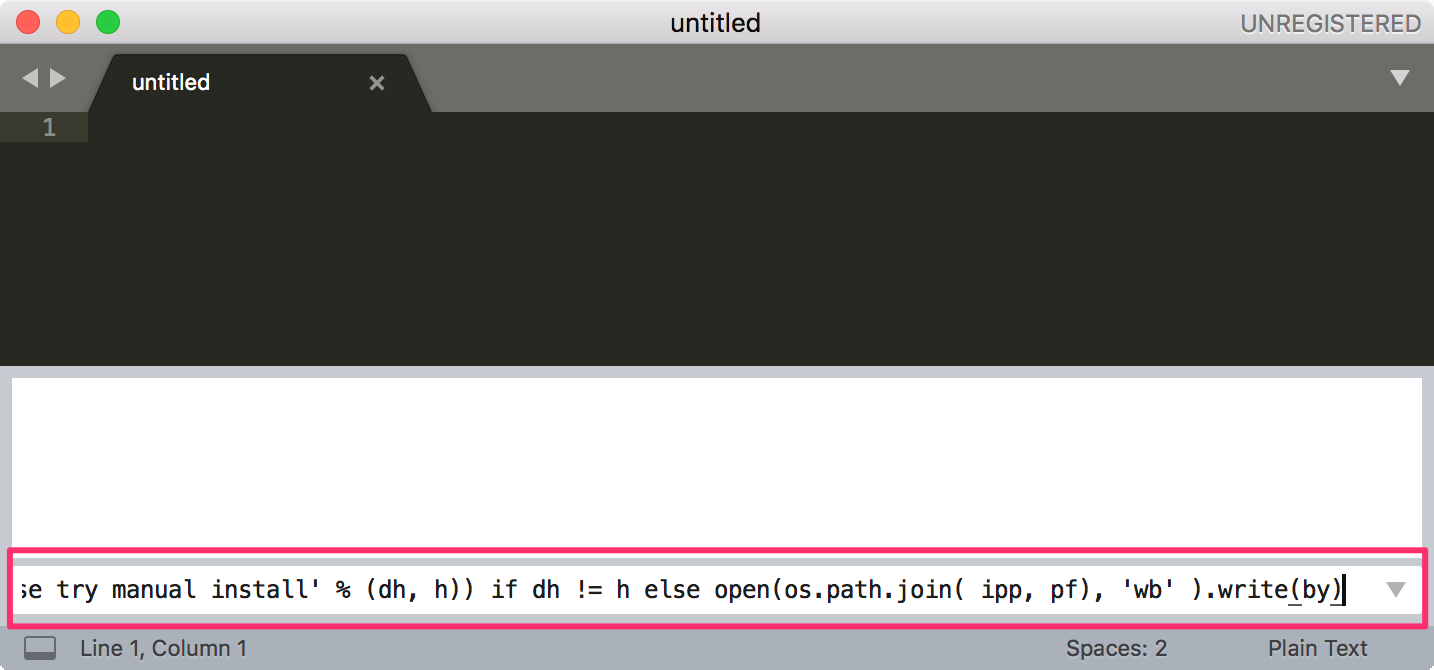
(2) Enable Sublime Package Control
Use Ctrl + ` to open the console and paste the code in it.
(3) Install Packages
HTML-CSS-JS PrettifyBabelMarkdownLightGitGutter
Use Cmd + Shift + P to search package control.
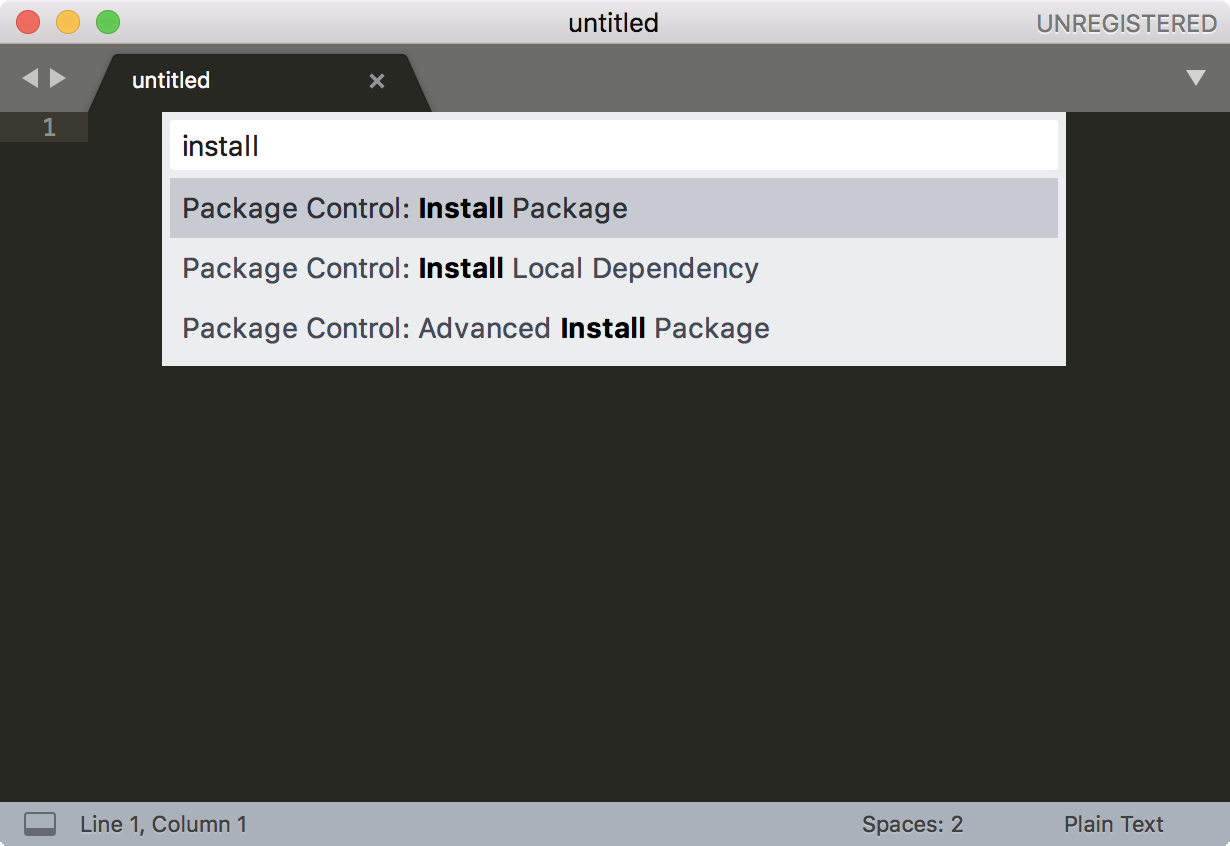
Search the name of packages.

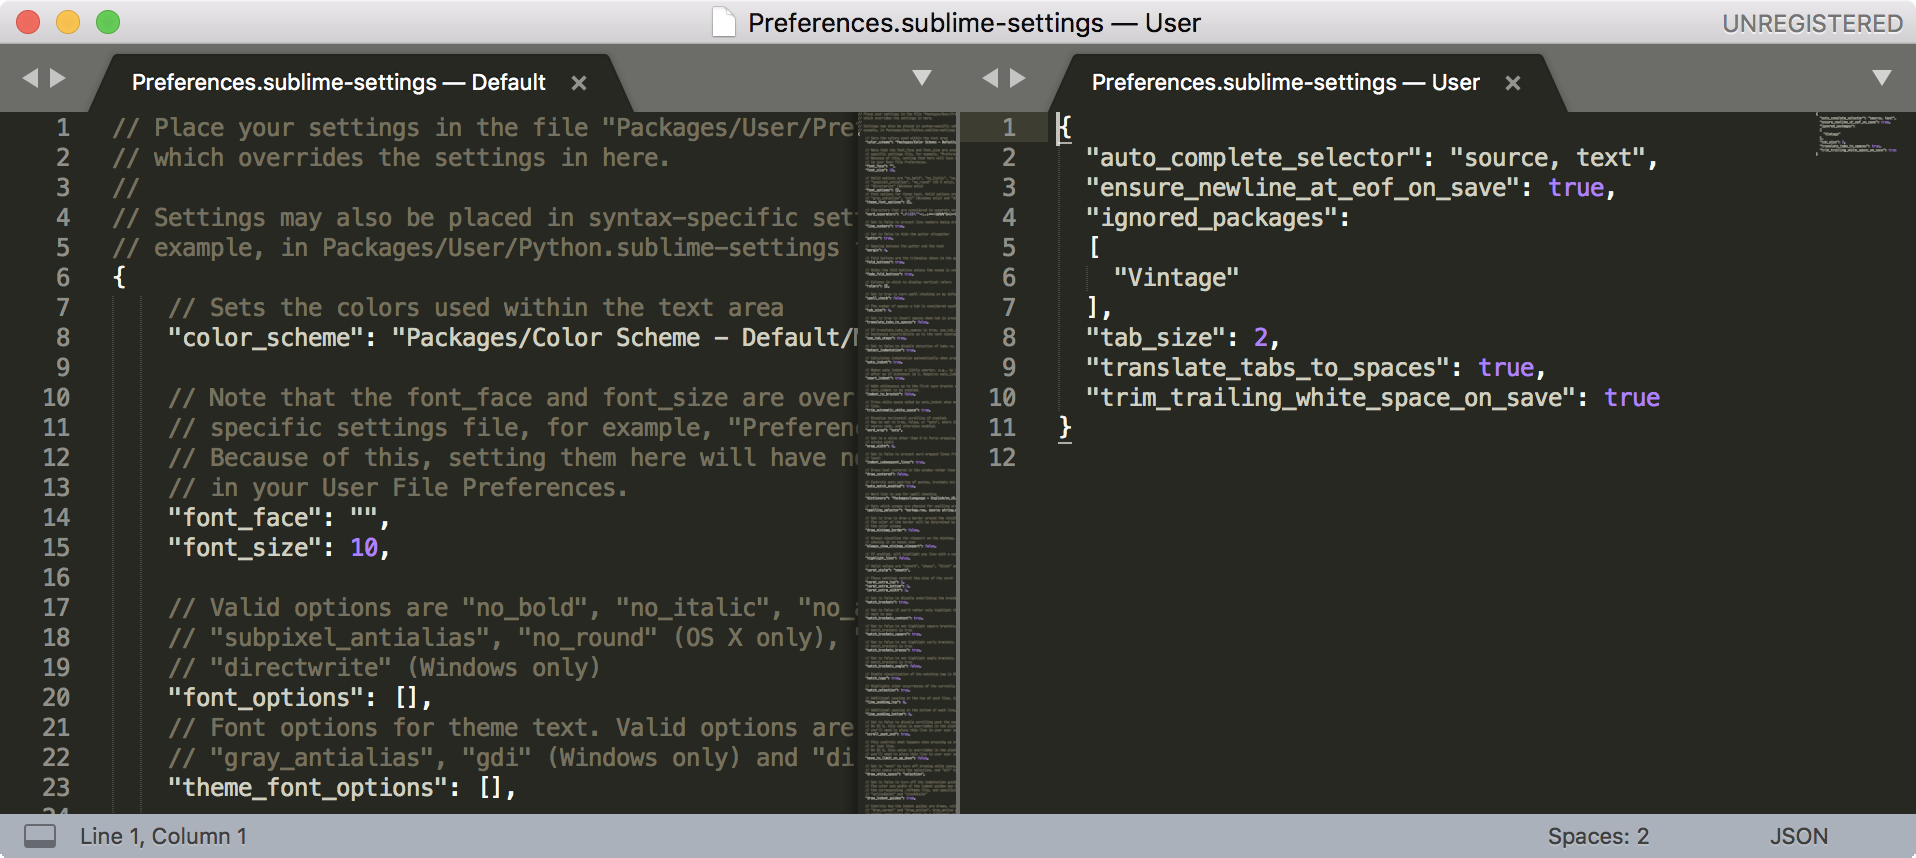
(4) Preferences.sublime-setting (use Cmd + , to open preference)
1 | { |
12. Brew
1 | # install brew |
Note:
gitwill be installed during the installation.
13. Node.js, NVM (Node Package Manager)
1 | # install nvm (Node Version Manager) |
14. Git
1 | # install git via brew |
(1) Git config and alias
1 | # config |
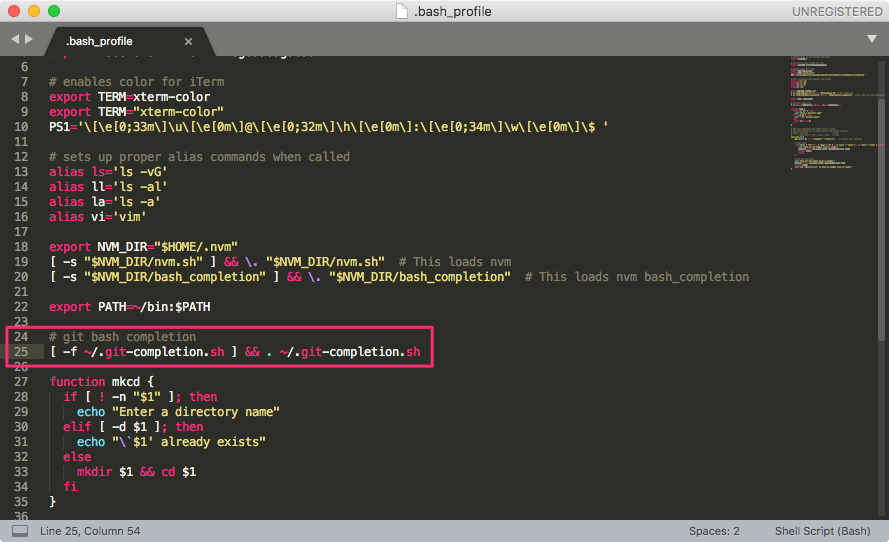
(2) git-completion
1 | # Download git-completion.bash |
1 | # git bash completion |
(3) diff-so-fancy
1 | # install diff-so-fancy via yarn |
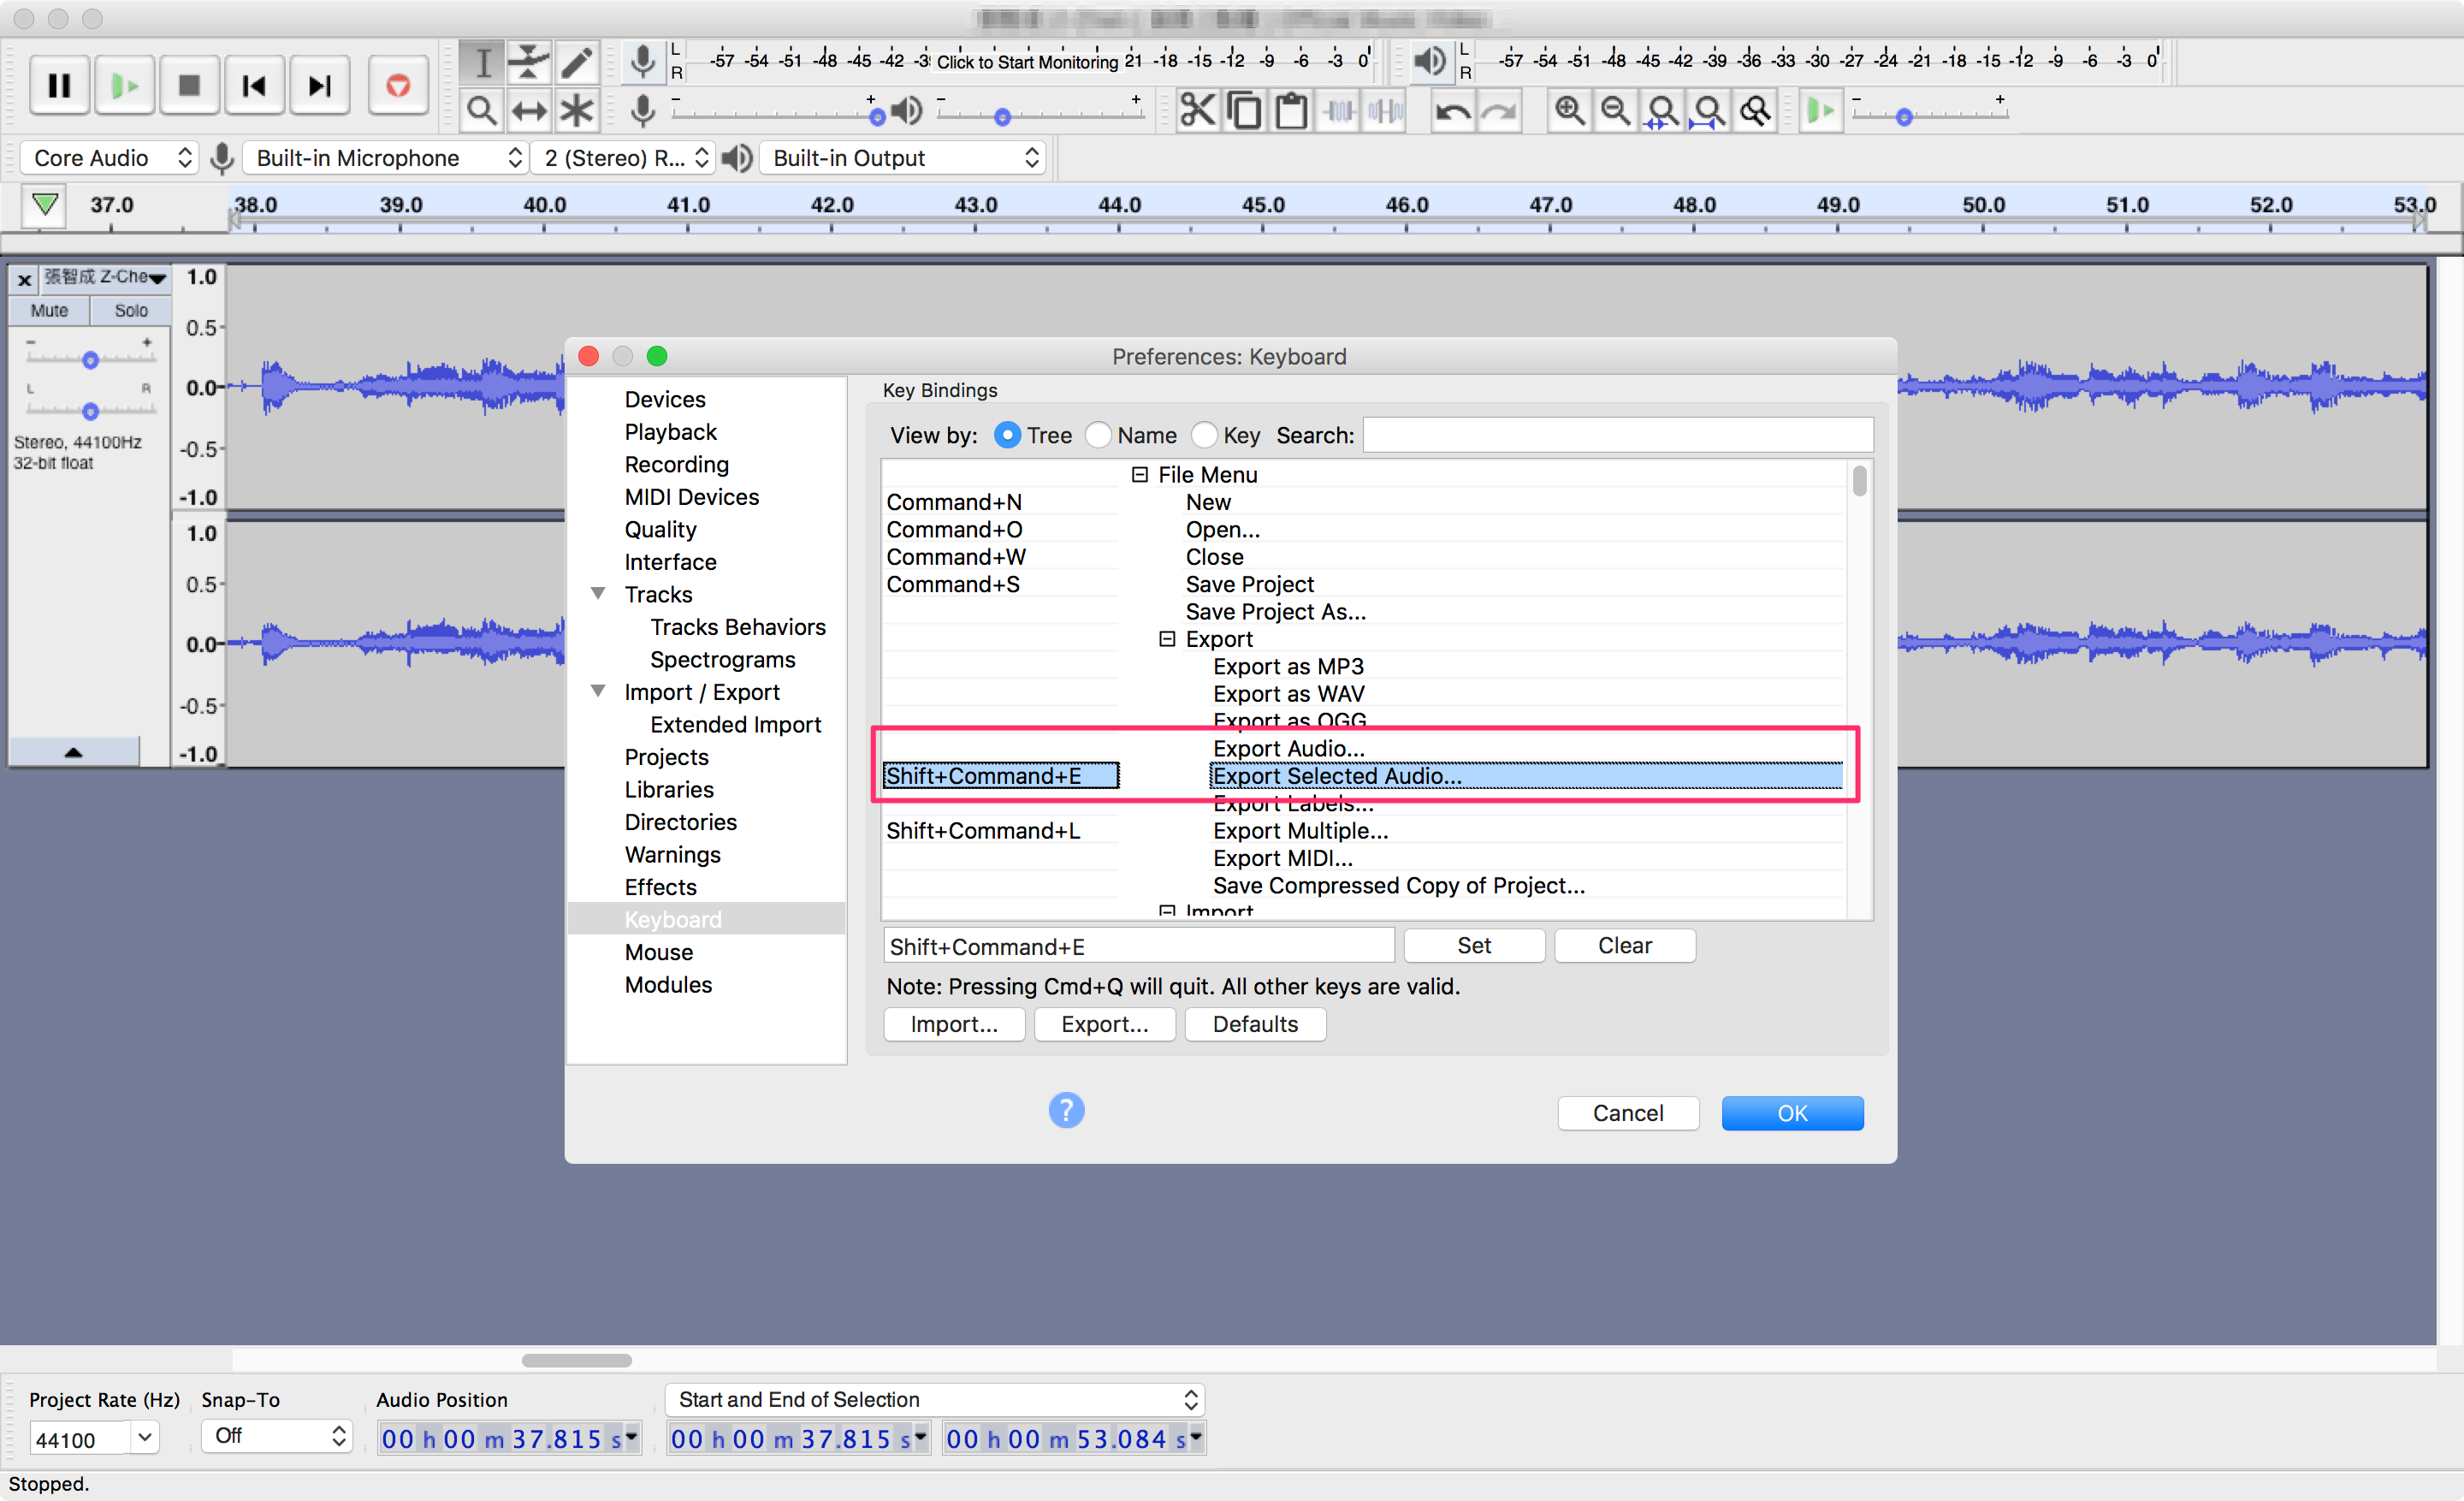
15. Audacity ([download]](http://www.audacityteam.org/download/mac/))
(1) Install LAME 3.99.5 for Audacity download
(2) Set shortcut cmd + shift + E for Export Selected Audio ...
16. Other Apps (13)
- Chrome
- Skitch
- Memory Clean
- Xcode
- AppCleaner
- Acrobat Reader
- Teamviewer
- VLC
- F.lux
- Anki
- Keyboard Clean Tool
- Android File Transter
Reference
- https://support.apple.com/en-us/HT204904
- https://support.apple.com/en-us/HT204156
- https://zlargon.github.io/blog/MAC/tools/mac-terminal/
- https://zlargon.github.io/blog/MAC/tools/touchpad-setting/
- https://zlargon.github.io/blog/MAC/tools/keyboard-setting/
- https://zlargon.gitbooks.io/git-tutorial/content/config.html
- https://stackoverflow.com/questions/12656448/sublime-text-2-auto-completion-popup-does-not-work-properly


")


